Webflow Zapier Integration: Complete Guide (2026)

Let's Build Your Webflow Website!
Partner with experts who understand your vision. Let’s create a converting user experience and build your website for future growth.
Webflow Zapier Integration: The Complete Automation Guide (2026)
Modern Webflow websites have evolved into central data sources for businesses. Every form submission, click, or user interaction triggers data that directly impacts sales and CRM.
But if your team is still struggling with manual work, you're falling behind. In 2026, automation is a way for teams to move faster without breaking things.
In this guide, we will show you how Zapier can turn your Webflow website into an operational hub, not just a marketing asset.
Immediate Answer
Webflow Zapier integration connects your Webflow site to 8,000+ apps without code.
Key capabilities include: form submission triggers, CMS item creation/updates, e-commerce order automation, and data syncing with CRMs, email tools, and team communication platforms. Setup requires connecting your Webflow account to Zapier, selecting triggers (form submissions, CMS changes), and configuring actions (add to CRM, send email, post to Slack). Most basic automations can be set up in under 15 minutes.
ABSTRACT
Zapier connects your Webflow website to thousands of apps - from automation and CMS sync to lead capture. Webflow Zapier integration helps marketing teams, as well as operational staff and business owners, streamline their daily processes.
This guide offers a practical view of setup steps, use cases, best practices, and potential troubleshooting issues when connecting Zapier to Webflow.
As a Webflow Enterprise Partner, we’ve built complex automation workflows that save our clients hours of manual work every week.
Webflow + Zapier: Automation Reference
Key Insight
Form submission triggers are the most commonly used capability in this integration. If you are new to automation, start there for your first Zap to see immediate ROI.
Quick Win: Your First Webflow Zap in 10 Minutes
The Setup: Form Submission → Google Sheets + Email Notification
Steps:
- Create a Zap with Webflow as your trigger app.
- Select "Form Submission" as the trigger event and test it with a live site entry.
- Add Google Sheets action: Choose "Create Spreadsheet Row" to log the data.
- Add Gmail action: Choose "Send Email" to alert yourself or your team.
- Map form fields: Connect your Webflow data to the sheet and email, then turn on the Zap.
What You Get:
- Every form submission is automatically logged in an organized sheet.
- You receive an instant email notification the second a lead hits your site.
- Complete elimination of manual data entry.
Time to Set Up: ~10 minutes Zapier Plan Required: Free (for single-step) or Starter (for multi-step)
Pro Tip: Start with this simple workflow to master the basics, then add more complex actions as you get comfortable with the platform. For more complex, enterprise-level builds, our Webflow development services can handle the heavy lifting for you.
Overview of Webflow Zapier Integration

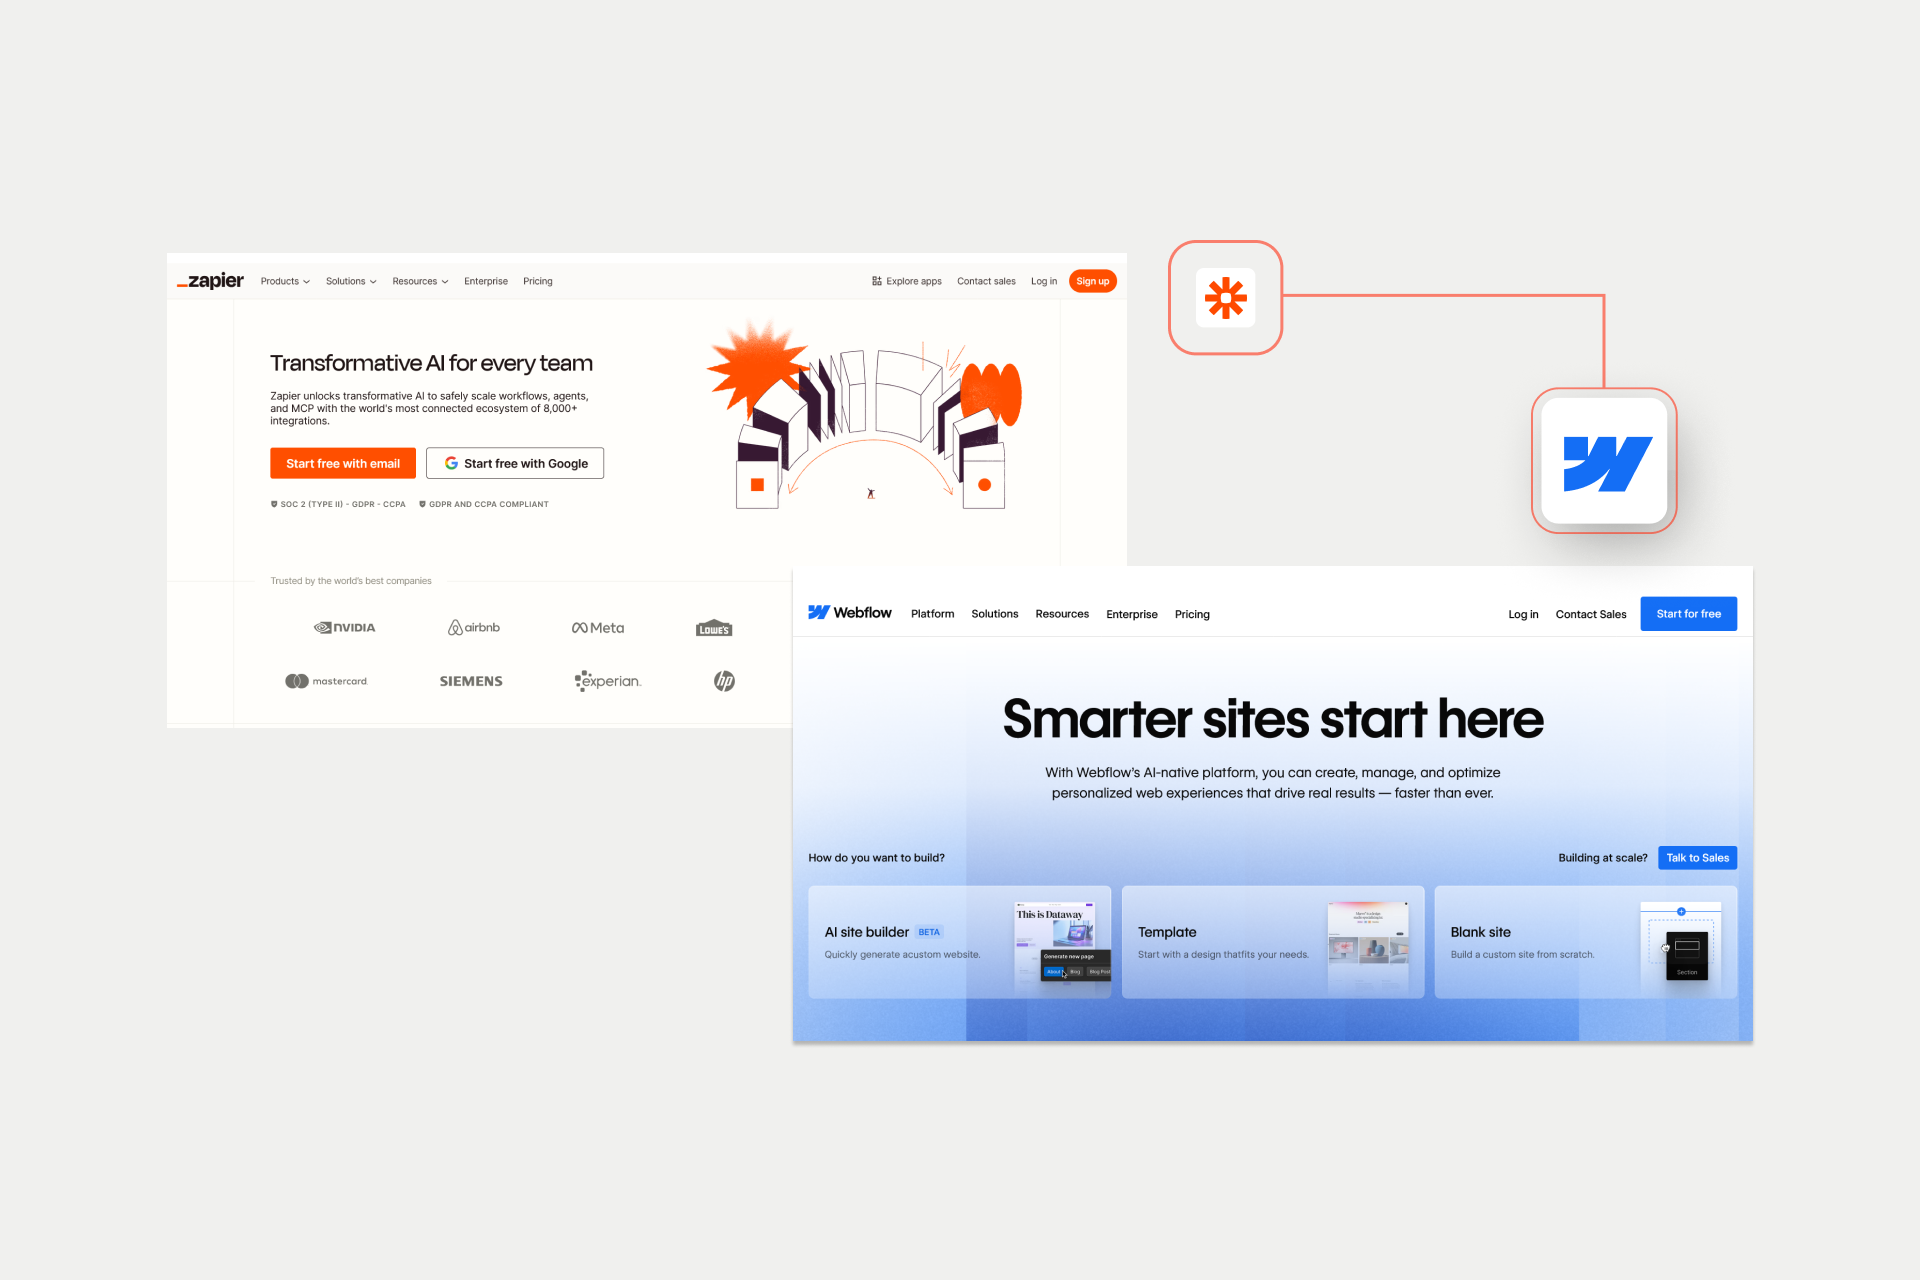
If your website runs on Webflow, then you’ve probably heard of Zapier integration. If you’re not using it yet, maybe it’s time to start and connect your favorite apps directly.
Zapier is a no-code automation platform with over 8,000 available apps. It uses triggers and actions to create automated workflows called “Zaps”. Webflow Zapier integration bridges the gap between Webflow and CRMs, email tools, spreadsheets, and more.
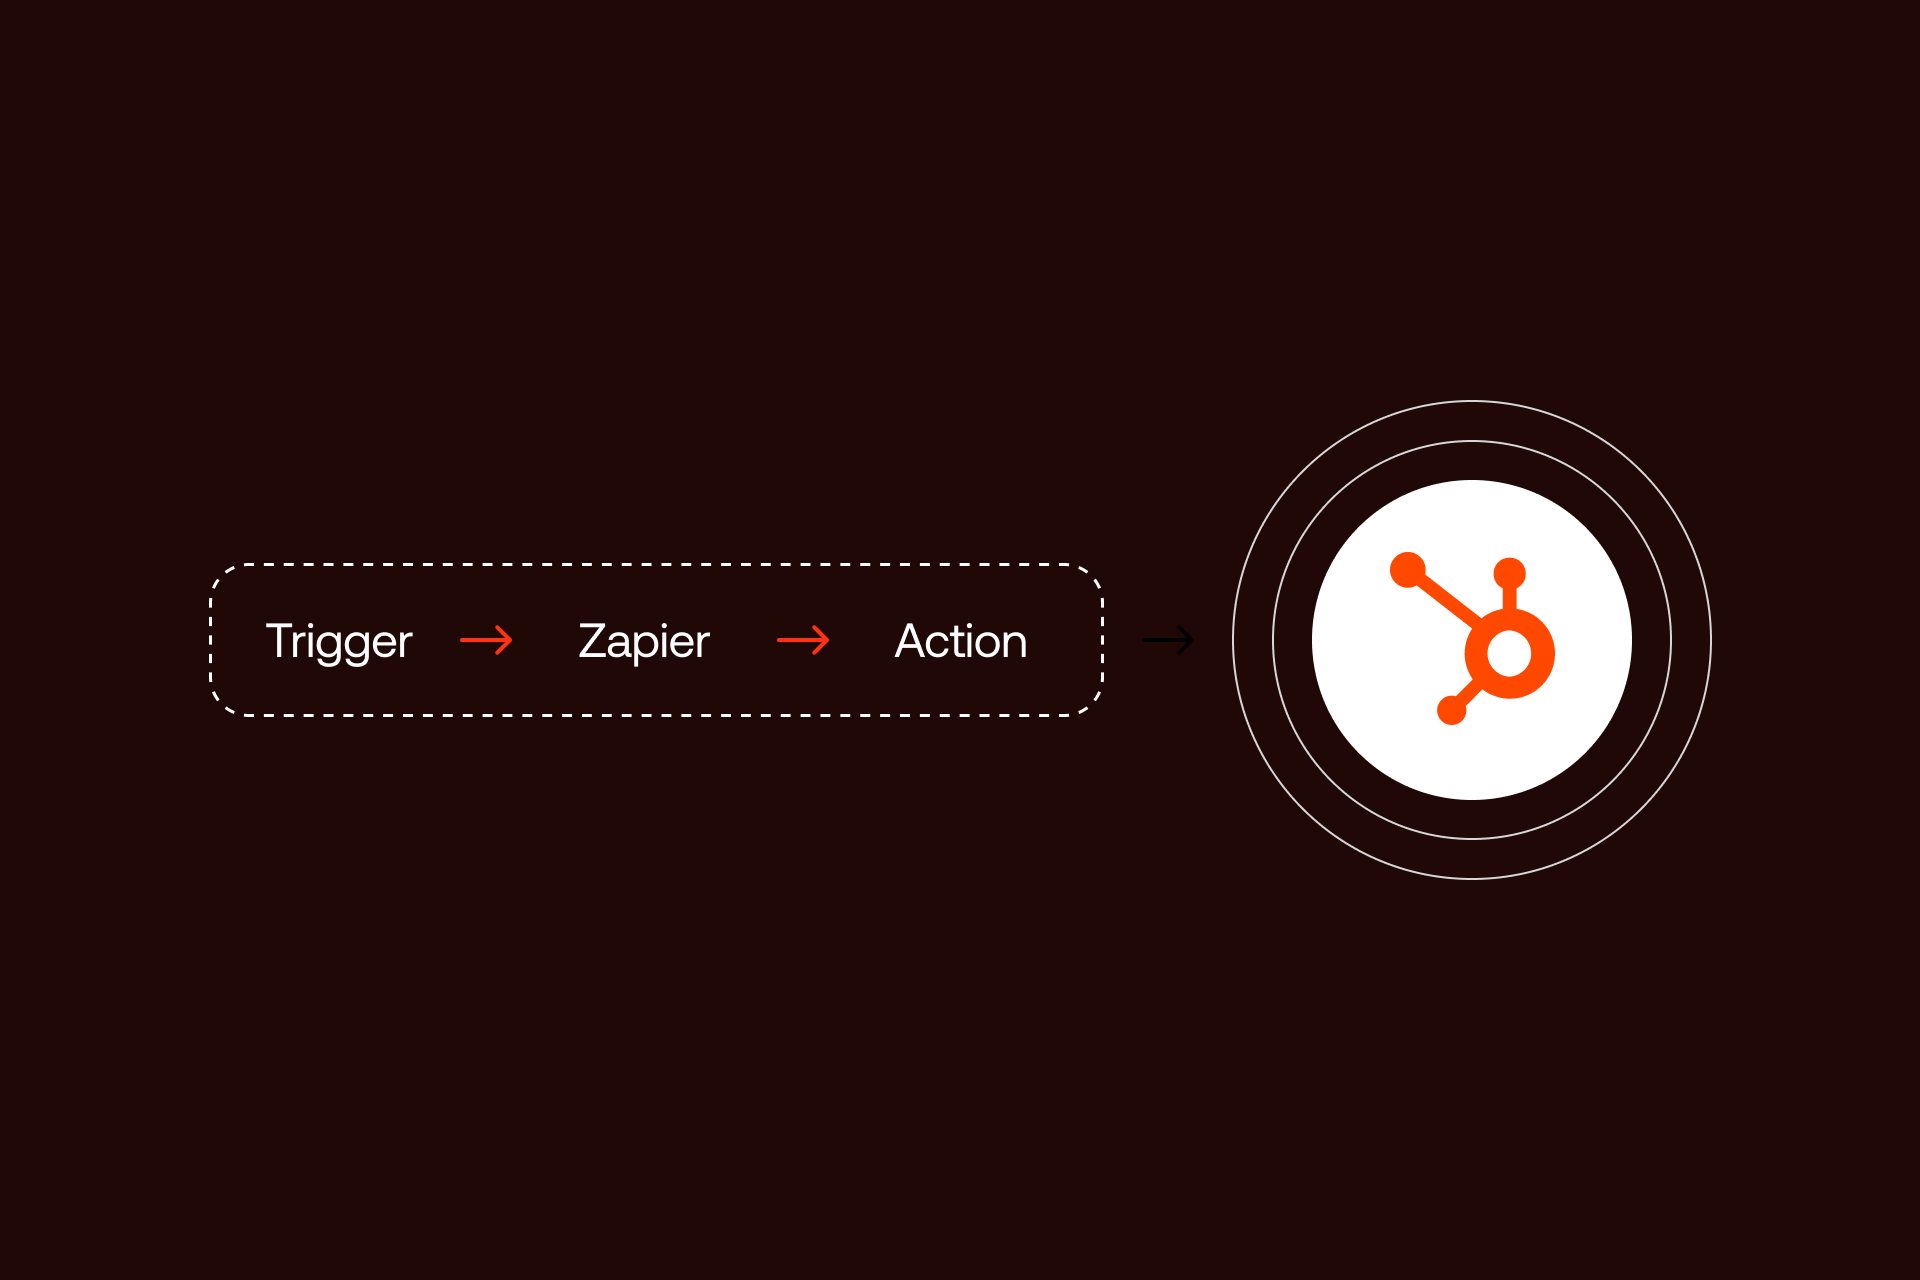
This integration has a simple 3-step workflow:
- Trigger: Something happens in Webflow (e.g., form is submitted, a CMS item is created)
- Action: Something happens in another app (e.g., you add a contact to HubSpot, send a Slack message)
- Multi-step Zaps chain multiple actions together, connecting triggers and actions
Webflow Zapier integration is one of the most popular ones because it eliminates manual data entry. You can connect Webflow to your existing tech stack without having to rely on developers. In the long run, Webflow Zapier integration saves hours of repetitive work.
Benefits of Webflow + Zapier Automation
There are many benefits of using Webflow + Zapier automation, and if you are looking for a way to strengthen your efforts, this integration is the way to go.
It saves time by:
- Automating repetitive tasks
- No manual copy-paste between tools
- Instant data transfer
It offers reliability through:
- Consistent execution (no human error)
- 24/7 automation
- Audit trail of all actions
It scales as your business grows and:
- Handles more leads without more work
- Grows without adding manual processes
- It’s easy to modify as needs change
It offers long-term cost efficiency:
- No custom development needed for most use cases
- Zapier plans start free
- ROI from time saved
Webflow + Zapier: Key Benefits Table
Key Insight
The ROI is simple: if you're manually copying data between tools more than once a day, Zapier pays for itself.
Key Features: Triggers and Actions
Webflow Zapier integration works based on two simple but powerful concepts: triggers and actions. Triggers detect when something happens, while actions define what happens next.
Combined, triggers and actions allow teams to merge and automate workflows between Webflow and thousands of external apps.
In practice, it looks like this:
- Webflow Zapier integration supports multiple trigger types that react to events on your website, such as form submissions, CMS updates, or e-commerce activity.
- Once a trigger fires, Zapier can run one or more actions, like adding a contact to a CRM, updating a CMS item, or sending a notification to your internal tools.
Flexibility is what makes this integration so powerful. You can create simple automations or complex workflows that include filters, conditions, and branching for logic. In daily use, standard triggers and actions are more than enough for most of the teams.
The goal is to understand which triggers and actions are available. Below, we are going to break down the most important ones and how they’re commonly used in real projects.
Webflow Triggers in Zapier
We start with Webflow triggers since they define the event that starts automation. Zapier monitors activity on your Webflow website and triggers a Zap whenever one of these events occurs.
Available Webflow triggers include:
#1 Form Submission: User submits any Webflow form
Common use: lead capture, contact requests
#2 New CMS Item: CMS item is created
Common use: content notifications
#3 CMS Item Updated: CMS item is modified
Common use: syncing updates to other systems
#4 New E-commerce Order: Order is placed
Common use: fulfillment, internal notifications
#5 New E-commerce Customer: Customer is created
Common use: CRM sync, welcome emails
Submission is one of the most commonly used triggers since it works with any Webflow form. It captures all submitted fields, including custom inputs. You can always filter Zaps by specific form, which helps when you have multiple forms on one website.
We use CMS triggers for content-driven workflows. You can trigger automations when items are added or updated in a specific collection, making it easy to notify teams, sync content to other tools, or keep systems aligned.
If you use the Webflow e-commerce plan, you will have e-commerce triggers available. These triggers react to order and customer events and are great for fulfillment, accounting, or post-purchase communication workflows.
Webflow Actions in Zapier
After we define triggers, we have actions. Actions define what Zapier does after a trigger fires. Webflow actions mostly focus on CMS management and data syncing back into your site.
Available Webflow actions include:
Create CMS Item: Add a new item to a collection
Common use: create content from external sources
Update CMS Item: Modify existing item
Common use: sync data changes
Create Live CMS Item: Add and publish immediately
Common use: automated content publishing
Find CMS Item: Search for existing item
Common use: update workflows
CMS actions allow you to create or update items in any collection. You can choose whether content should be published live or saved as a draft, and map fields directly from trigger data like form submissions or spreadsheet rows.
However, there are some limitations to be aware of. Zapier currently cannot delete CMS items, and Webflow API rate limits apply. Large batch operations or frequent updates may need throttling or delays to avoid errors.
Webhooks and Advanced Triggers
For more advanced use cases, Zapier supports webhooks, which allow custom data to be sent from Webflow to Zapier using a URL. Webhooks are more flexible than standard triggers and are useful when you need more control.
Webhooks are often used when:
- You need custom events not covered by standard triggers
- You want to integrate with Webflow Logic
- You’re building complex conditional workflows
Zapier also supports REST hooks, which power instant triggers. These do not rely on polling, meaning automations run in real time without delays.
The key insight here is simple: standard triggers cover about 90% of use cases. Webhooks exist for the remaining 10% when your automation needs more flexibility or custom logic.
Webflow Triggers (What Starts a Zap)
These events monitor your Webflow site and tell Zapier to begin a workflow.
Webflow Actions (What Zapier Can Do)
These events allow Zapier to send data back into Webflow or manage your site content.
Limitations to Note:
- ❌ Cannot delete CMS items: Zapier can create and update, but not remove items.
- ❌ No site settings access: You cannot modify global site settings or styles via Zapier.
- ❌ Limited e-commerce actions: Actions are primarily focused on the CMS; e-commerce management is trigger-heavy.
- ⚠️ API rate limits: Webflow limits requests to 60 per minute; high-volume syncs may require delays to avoid errors.
Webflow Zapier in practice → See our integration work
Automation Use Cases

The real value of Webflow Zapier integration shows when you start to apply it to your daily workflows. It removes friction between your website and the rest of the tools your business uses. This means that Zapier is more than a fancy technical feature.
For most companies, starting with one simple Zap while building gradually more advanced workflows is the best starting point. These automations aren’t there just for the marketing teams.
Sales, operations, content, and finance teams can also benefit from connecting Webflow to Zapier. Below, you can find some of the most common and practical automation use cases we see across different projects.
Lead Capture and CRM Integration
Lead capture is by far the most popular Webflow Zapier use case. The workflow usually starts when a visitor submits a contact form on your Webflow website. Zapier instantly captures the form data and sends it to your CRM, where a new contact is created, or an existing one is updated.
Common CRM integrations include HubSpot (the most common choice), Salesforce, Pipedrive, Zoho CRM, Monday.com, and Airtable. Once the contact is added, additional steps can be triggered automatically. Sales teams can be notified via email or Slack, and a welcome email can be sent to the lead without any manual work.
A typical multi-step workflow looks like this:
Form Submission (Webflow)
↓
Add Contact (HubSpot)
↓
Send Notification (Slack)
↓
Add to Spreadsheet (Google Sheets)
↓
Send Welcome Email (Mailchimp)
The benefits of this setup are clear. No leads fall through the cracks, follow-ups happen instantly, and every lead is tracked in one system. Sales teams are informed immediately and can respond quickly, improving conversion rates.
Team Notifications and Communication
Another common use case is automating internal communication. Instead of checking dashboards or inboxes manually, teams can receive real-time notifications when something happens on the website.
Typical notification workflows include form submissions posting to a Slack channel, new orders triggering an email to the fulfillment team, or contact requests sending an SMS to a sales rep. Support inquiries can also create tickets in help desk tools automatically.
Popular communication tools connected via Zapier include Slack, Microsoft Teams, Gmail, Outlook, SMS tools like Twilio, and even Discord.
An example Zap could look like this:
Trigger: Webflow form submission
- Action 1: Post message to Slack #sales channel
- Action 2: Send email to sales@company.com
- Action 3: Add row to Google Sheets
This keeps everyone aligned without extra meetings or manual updates.
CMS Content Automation
Webflow CMS combined with Zapier opens up powerful content automation possibilities. Instead of manually entering content into Webflow, teams can manage data in external tools and sync it automatically.
Common use cases include populating CMS collections from Google Sheets or Airtable, syncing content between platforms, and automating publishing workflows. For example, a new row in Google Sheets can automatically create a blog post in Webflow, or an Airtable record can generate a team member profile.
Other workflows include RSS feeds, creating news items, or product updates syncing directly into the CMS.
For content teams, this means working in familiar tools, publishing automatically, avoiding manual CMS entry, and handling batch updates with ease. It also reduces errors and keeps content consistent across systems.
E-commerce Automation
If you’re using Webflow Ecommerce, Zapier can automate many operational workflows. When an order is placed, Zapier can notify fulfillment teams, create invoices in accounting software, and add customers to email marketing lists.
Popular integrations include ShipStation for fulfillment, QuickBooks or Xero for accounting, Mailchimp or Klaviyo for email marketing, and Slack for internal notifications.
A typical workflow might look like this:
New Order (Webflow E-commerce)
↓
Create Invoice (QuickBooks)
↓
Notify Warehouse (Slack)
↓
Add Customer to List (Mailchimp)
These automations reduce manual processing and help e-commerce teams scale without increasing operational overhead.
Webflow + Zapier: Common Automation Workflows
Visual Workflow Example
LEAD CAPTURE WORKFLOW ━━━━━━━━━━━━━━━━━━━━ Form Submission (Webflow) │ ▼ Create Contact (HubSpot) │ ▼ Add to List (Mailchimp) │ ▼ Post Message (Slack #sales) │ ▼ Create Task (Asana)
Key Insight
For most companies, beginning with one simple Zap and building gradually toward multi-step workflows is the best starting point.
Setting Up Webflow Zapier Integration
Setting up Webflow Zapier integration doesn’t require you to be a technical expert, but it does require a clean setup. Most issues Webflow-Zapier users face come from missing prerequisites or skipping testing steps.
If everything is prepared correctly, you can have your first automation running in under 15 minutes.
The setup process follows a simple pattern: connect accounts, choose a trigger, define actions, then test and monitor. While the interface is beginner-friendly, it’s still important to understand what each step does and how data flows between tools.
This section walks through the full setup process and highlights best practices to avoid common mistakes.
Prerequisites and Account Setup
Before creating your first Zap, make sure you have everything in place.
What you need:
- A Webflow account (any paid plan is required for form submissions)
- A Zapier account (free tier works for basic Zaps)
- API access enabled in Webflow
Webflow requirements:
Your site must be published for triggers to fire correctly. Forms need to be properly set up and tested, and CMS collections must already exist if you plan to use CMS triggers or actions. Zapier can’t create collections for you, only items inside them.
Zapier plan considerations:
The free plan includes 100 tasks per month, up to 5 Zaps, and only single-step automations. Starter plans allow multi-step Zaps with higher task limits. Professional and Team plans offer advanced features, higher limits, and shared workspaces for collaboration.
Choosing the right plan depends on how complex your workflows are and how often they run.
Step-by-Step Connection Guide
If you’re wondering how to connect Zapier to Webflow, here you can find 4 step approach:
Step 1: Connect Webflow to Zapier
Log in to Zapier and click “Create Zap”. Search for Webflow as your trigger app. When prompted, click “Sign in to Webflow” and authorize Zapier access. Select the Webflow site you want to connect to.
Step 2: Configure the Trigger
Choose a trigger event, such as “Form Submission” or “New CMS Item”. You can optionally select a specific form or collection. Test the trigger to pull in sample data and verify that all fields appear correctly.
Step 3: Configure the Action
Search for the app you want to connect to, like HubSpot. Choose an action event such as “Create Contact”. Map Webflow fields to the action fields carefully. Test the action to confirm data is sent correctly.
Step 4: Test and Monitor
Submit a test form on your Webflow site. Check that data flows into the connected app. Review Zapier task history and monitor for errors before turning the Zap on.
Webflow Zapier Setup: Step-by-Step
Following the 4-step approach outlined in the guide, here is your visual walkthrough for connecting Webflow to your automation stack.
STEP 1: CREATE ZAP ━━━━━━━━━━━━━━━━━━
┌─────────────────────────────────┐
│ Zapier Dashboard │
│ ┌───────────────────────────┐ │
│ │ + Create Zap │ │
│ └───────────────────────────┘ │
└─────────────────────────────────┘
STEP 2: SELECT WEBFLOW TRIGGER ━━━━━━━━━━━━━━━━━━━━━━━━━━━━━━
┌─────────────────────────────────┐
│ Search: "Webflow" │
│ ┌───────────────────────────┐ │
│ │ ○ Form Submission │ │
│ │ ○ New CMS Item │ │
│ │ ○ E-commerce Order │ │
│ └───────────────────────────┘ │
└─────────────────────────────────┘
STEP 3: CONNECT WEBFLOW ACCOUNT ━━━━━━━━━━━━━━━━━━━━━━━━━━━━━━━
┌─────────────────────────────────┐
│ [Sign in to Webflow] │
│ ↓ │
│ Authorize Zapier Access │
│ ↓ │
│ Select Your Site │
└─────────────────────────────────┘
STEP 4: CONFIGURE TRIGGER ━━━━━━━━━━━━━━━━━━━━━━━━━
┌─────────────────────────────────┐
│ Select Form: [Contact Form ▼] │
│ Test Trigger: [Test] │
│ Sample Data: ✓ Found │
└─────────────────────────────────┘
STEP 5: ADD ACTION APP ━━━━━━━━━━━━━━━━━━━━━━━
┌─────────────────────────────────┐
│ Search: "HubSpot" │
│ Action: Create Contact │
│ Connect Account │
└─────────────────────────────────┘
STEP 6: MAP FIELDS ━━━━━━━━━━━━━━━━━━
┌─────────────────────────────────┐
│ HubSpot Field Webflow Data │
│ ───────────── ──────────── │
│ Email ← {{form.email}}│
│ First Name ← {{form.name}} │
│ Company ← {{form.company}}
└─────────────────────────────────┘
STEP 7: TEST & PUBLISH ━━━━━━━━━━━━━━━━━━━━━━
┌─────────────────────────────────┐
│ [Test Action] → Success ✓ │
│ [Publish Zap] → Live! │
└─────────────────────────────────┘
Pro Tips:
- Submit a test form BEFORE testing trigger: Zapier needs to "see" a real submission on your live site to pull sample data.
- Name your Zap descriptively: Use a format like "Contact Form → HubSpot + Slack" to keep your dashboard organized.
- Test with real data: Always run a final manual test on your live site before considering the workflow "done."
Best Practices for Automation Setup
A good automation setup saves time long term, but only if you follow best practices.
Follow these best practices:
- Start by naming Zaps clearly, for example, “Contact Form - HubSpot + Slack”. Use folders to organize Zaps and document what each automation does, especially for teams.
- Always test Zaps before going live. Use test data instead of real customer information and verify that every field maps correctly. Small mapping mistakes can cause big issues later.
- For error handling, enable Zapier error notifications and use filters to catch incomplete or invalid data. Fallback actions can help prevent broken workflows.
- Finally, treat automation as something that needs maintenance. Review Zaps monthly, monitor task usage, update workflows when tools or forms change, and archive Zaps you no longer use.
Need help with complex automations? → Webflow Integrations
Popular Tool Integrations

One of the biggest advantages of Webflow Zapier integration is the number of tools you can connect to.
With access to 8,000+ apps, Webflow can become the starting point for workflows across sales, marketing, operations, and internal teams. While the possibilities are almost endless, some integrations are used far more often than others.
Most companies start by connecting Webflow to a CRM, then layer on email marketing and team tools. The key is not to connect everything at once, but to focus on the tools that support your core business processes.
While Zapier is the most flexible tool, there are dozens of native and third-party Webflow integrations that can enhance your site's functionality. Below, we highlight some of the most popular real-world Webflow project integrations.
CRM Integrations
CRM integrations are the most common reason teams use Zapier with Webflow. HubSpot is by far the most popular option. With Webflow HubSpot integration, you can:
- Create or update contacts
- Create deals
- Add contacts to lists
- Log activities based on form submissions or other Webflow events
Salesforce is another widely used CRM, especially for larger teams. Typical actions include creating leads, creating contacts, creating opportunities, and updating existing records. Because Salesforce schemas can be complex, careful field mapping is important.
Pipedrive is another popular option for sales-driven teams. It allows you to create persons, create deals, create activities, and keep records updated automatically.
Set up tips for CRM integrations:
- Map all Webflow form fields to CRM fields
- Set lead source to “Website Form.”
- Include the form name for tracking
- Add contacts to the correct lists or segments
These small details make reporting and follow-up much easier later on.
Email and Marketing Integrations
Email marketing tools are often connected alongside CRMs.
Popular integrations include Mailchimp for list management and campaigns, Klaviyo for e-commerce-focused marketing, ConvertKit for creators, and ActiveCampaign for advanced automation workflows.
Common workflows include adding subscribers to an email list after form submission, triggering a welcome sequence automatically, or adding customers to a segment after an e-commerce order.
These automations help ensure consistent communication without manual work and keep audiences properly segmented.
Productivity and Team Tools
Webflow Zapier integration also works well with productivity and team tools.
Google Sheets is the most commonly used spreadsheet integration, followed by Airtable for database-style setups and Excel Online.
For communication, Slack is the default choice for channel notifications, but Microsoft Teams and Discord are also widely used. Project management tools like Asana, Monday.com, Notion, and Trello can automatically create tasks based on form submissions or CMS changes.
Popular Webflow Zapier Integrations
Based on the article and industry standards for 2026, here is a categorized look at the most effective tools to pair with your Webflow site.
CRM & Sales
Email Marketing
Communication
Productivity
E-commerce & Marketing
Note: The "HubSpot + Slack + Google Sheets" stack remains the most common combination for businesses. Start there if you are unsure which tools will provide the most immediate value.
Troubleshooting and Limitations
Even though Webflow Zapier integration is generally reliable, issues can happen.
Most problems are not caused by Zapier itself, but by small setup mistakes, missing permissions, or misunderstood limits. Knowing what to look for can save hours of frustration.
This section covers the most common problems teams run into and explains how to fix them. It also outlines the real limitations of using Zapier with Webflow, so you know when it’s the right tool and when it might not be enough.
Common Issues and Solutions
Connection issues
- Problem: Zapier can’t connect to Webflow
- Solution: Re-authorize the Webflow connection in Zapier and make sure API access is enabled in Webflow settings.
Form data not appearing
- Problem: Trigger test shows no data
- Solution: Submit a real form on your live Webflow site first, then test the trigger again. Zapier can only pull data that already exists.
Fields not mapping correctly
- Problem: Data ends up in the wrong fields
- Solution: Review field mapping carefully and make sure field types match. Text fields mapped to number fields often cause errors.
Zap not triggering
- Problem: Actions are not happening
- Solution: Confirm the Zap is turned on and that trigger conditions or filters are not blocking it.
API rate limits
- Problem: “Too many requests” errors
- Solution: Add delays between actions or batch operations to reduce request frequency.
Quick troubleshooting checklist:
- Is the Zap turned on?
- Is Webflow still connected?
- Did you test the trigger properly?
- Are all fields mapped correctly?
- Check Zapier task history for errors
Most issues can be identified within Zapier’s task history and fixed quickly once you know where to look. While automations are often “set and forget”, Webflow maintenance is still required.
Limitations to Know
Zapier comes with some limitations that are important to understand.
Task limits depend on your plan, and multi-step Zaps require a paid tier. Standard triggers also use polling, which means delays of 1 to 15 minutes unless you’re using webhooks.
Some complex logic, like advanced branching or heavy data transformation, can be done, but often requires workarounds.
Webflow also has its own limitations. You cannot delete CMS items via Zapier, e-commerce actions are limited, and API rate limits apply (60 requests per minute). Some triggers are only available on specific Webflow plans.
For users moving beyond basic Zaps, our Webflow API integration guide covers how to handle advanced data syncs while staying within the 60-requests-per-minute limit.
When Zapier isn’t enough, such as for very complex conditional logic, high-volume real-time syncing, or custom data transformations, tools like Make (formerly Integromat) or custom code may be better options.
The key insight is simple: Zapier handles about 80% of automation needs beautifully. For the other 20%, more powerful (and complex) alternatives exist.
Webflow Zapier Troubleshooting Checklist
Based on the troubleshooting and limitations section of the guide, use this diagnostic checklist to identify and fix common integration issues.
Zap Not Triggering?
- [ ] Is the Zap turned ON? Verify the toggle is green in your Zapier dashboard.
- [ ] Is Webflow still connected? Check your "Apps" connection status in Zapier for expired tokens.
- [ ] Did you submit a REAL form? Zapier needs real data from a live browser session to trigger.
- [ ] Is the form on a PUBLISHED site? Triggers only fire from live domains (or .webflow.io staging) once published.
- [ ] Are you on a paid Webflow plan? Form submissions and API access require a paid Site Plan.
- [ ] Check Zapier Task History: Look for stopped or filtered tasks that didn't reach the action step.
Form Data Not Appearing?
- [ ] Submit a real form BEFORE testing trigger: Zapier cannot "find" data if the form has never been used.
- [ ] Submit a fresh entry: Make sure a submission has occurred after you started building the Zap.
- [ ] Check form field names: In Webflow, ensure every input field has a unique name in the Settings panel.
- [ ] Verify the correct form is selected: If your site has multiple forms, ensure the specific one is chosen in the Trigger setup.
Fields Not Mapping Correctly?
- [ ] Check field types: Ensure you aren't trying to send long text into a "Date" or "Number" only field.
- [ ] Verify mapping: Double-check that {{form.email}} is actually mapped to the "Email" field in your action app.
- [ ] Refresh fields: Re-test the trigger step to pull in the latest schema if you recently changed your Webflow form.
- [ ] Check for special characters: Avoid symbols in Webflow field names that might break data parsing.
Action Not Working?
- [ ] Test the action step individually: Use the "Test Action" button to isolate whether the issue is the data or the destination app.
- [ ] Verify credentials: Ensure the destination app (e.g., HubSpot or Mailchimp) hasn't logged you out.
- [ ] Check required fields: Look for red asterisks in the action step; if a required field is empty, the Zap will fail.
- [ ] Review Task History: Click into a failed task to see the specific error code returned by the destination app.
Common Error Messages
Still Stuck?
- Check Zapier's Task History for detailed, technical error descriptions.
- Review Webflow's form settings to ensure "Send form data to Zapier" logic isn't blocked.
- Test each step individually to find exactly where the chain breaks.
- Contact Zapier support and provide the specific Task ID from your history.
Advanced Automation Strategies
Once you’re comfortable with basic Webflow Zapier automations, the next step is building more advanced workflows.
This is where automation becomes a true system, not just a shortcut. Advanced strategies are mostly used by teams with higher lead volume, more complex routing rules, or multiple tools involved in a single process.
Zapier can handle a lot more than simple one-trigger-one-action setups. With multi-step Zaps, filters, and paths, you can build logic that adapts to different scenarios. And when Zapier starts to hit its limits, there are other tools worth considering.
Multi-Step Workflows
Multi-step Zaps allow you to chain multiple actions from a single trigger. Instead of stopping after one action, the automation continues through several steps. You can also add filters and conditions to control when actions should run, and use Paths to branch logic based on data.
Multi-step Zaps require a Starter plan or higher, but they unlock most of Zapier’s real power.
A common example looks like this:
Form Submission (Webflow)
↓
Filter: Is it a demo request?
↓ Yes ↓ No
Create Lead (Salesforce) Add to Newsletter (Mailchimp)
↓
Create Task (Asana)
↓
Send Slack Alert (#sales)
This kind of setup ensures the right teams are involved automatically, without manual sorting or follow-ups.
Zapier Alternatives for Complex Needs
For some use cases, Zapier may not be the best tool.
Make (formerly Integromat) offers more powerful logic, a visual workflow builder, and is often more cost-effective at high volumes, though it has a steeper learning curve.
n8n is another option for technical teams. It’s self-hosted, developer-friendly, and has no task limits, but requires setup and ongoing maintenance.
For maximum flexibility, custom code using the Webflow API and your own backend is the most powerful option. This is usually needed for high-volume operations, complex conditional logic, real-time requirements, or cost optimization at scale.
Webflow Automation: Zapier vs. Alternatives (2026)
Choosing the right tool depends on your technical comfort and how much data you process monthly. Below is a comparison of the top automation platforms for Webflow as of early 2026.
Decision Guide: Which Should You Use?
Key Insight
Start with Zapier. It is the most reliable way to get your first "win." If you find yourself hitting task limits or needing complex "if/then" branching that Zapier can't handle, Make is the natural next step. Custom API code should be your last resort, reserved only for when off-the-shelf tools can't meet your security or functional requirements.
Conclusion
Webflow and Zapier together create a powerful automation stack without writing code. From form submissions and CMS operations to e-commerce workflows, you can connect your website to over 8,000 apps and turn it into a real operational hub.
The best approach is to start simple. Begin with a basic form-to-CRM or email workflow, then build complexity over time using multi-step Zaps. Monitor your automations regularly, keep them maintained, and understand when it’s time to upgrade to more advanced tools.
For simple Zaps, most teams can handle setup themselves. But for complex workflows, multi-system integrations, or enterprise-level requirements, professional help can save time and avoid costly mistakes.
Shadow Digital is a Webflow Enterprise Partner with deep experience in complex integrations. From simple form-to-CRM setups to advanced multi-step automations and custom solutions when Zapier isn’t enough, we help teams save hours of manual work and scale smarter.
Ready to automate your Webflow workflows? Shadow Digital builds integrations that save hours of manual work and help your team move faster without breaking things.
Schedule a consultation with our team!
FAQ
What is Webflow Zapier integration?
Webflow Zapier integration allows you to connect your Webflow website with thousands of other tools without writing code. It works by using triggers (events in Webflow like form submissions or CMS updates) and actions (things that happen in other apps like creating a CRM contact or sending a Slack message). This integration turns your Webflow site into more than just a marketing asset.
Your Webflow site becomes part of your business operations, handling lead capture, content workflows, notifications, and data syncing automatically. It’s especially useful for teams that want to move faster without relying on developers.
Is Zapier free with Webflow?
Zapier itself is not included with Webflow, but Zapier does offer a free plan that works with Webflow. The free plan allows up to 100 tasks per month, five single-step Zaps, and basic automation. This is enough for simple use cases like sending form submissions to a spreadsheet or email tool.
However, multi-step workflows, filters, and higher task limits require a paid Zapier plan. Most growing teams eventually upgrade once automation becomes part of daily operations.
What can you automate with Webflow and Zapier?
With Webflow and Zapier, you can automate form submissions, CMS item creation and updates, internal notifications, CRM syncing, and e-commerce workflows. Common examples include sending leads to HubSpot, posting form alerts to Slack, creating CMS content from Google Sheets, or notifying fulfillment teams when an order is placed.
You can also chain multiple actions together using multi-step Zaps. In short, any process where data moves from Webflow to another tool is a good candidate for automation.
How do I connect Webflow to Zapier?
To connect Webflow to Zapier, log in to Zapier and create a new Zap. Choose Webflow as the trigger app, then sign in to your Webflow account and authorize access. You’ll need API access enabled and a published site. After connecting, select your Webflow site, choose a trigger like form submission, and test it to pull sample data.
Once the trigger works, you can add actions such as creating a CRM contact or sending an email. Always test before turning the Zap on.
Why isn't my Webflow form triggering Zapier?
The most common reason is that Zapier has no sample data to work with. Zapier only detects form submissions that already happened, so you must submit a real form on your live site before testing the trigger.
Other causes include the site not being published, the wrong form selected, or the Zap being turned off. Also, check that the Webflow connection is still authorized. Zapier’s task history usually shows where the issue is, which makes debugging easier.
Can I use Zapier with Webflow's free plan?
You can technically connect Zapier to a Webflow site on a free plan, but with major limitations. Webflow’s free plan does not allow form submissions on a custom domain, which means most form-based automations won’t work properly.
For real automation use cases, you’ll need at least a paid Webflow site plan that supports forms and API access. CMS and e-commerce automations also require the relevant Webflow plans. In practice, Zapier is most useful once your Webflow site is live and paid.
Can Zapier create CMS items in Webflow?
Yes, Zapier can create CMS items in Webflow. It can add new items to any existing CMS collection, update existing items, or create and publish items immediately. This is commonly used to sync content from Google Sheets, Airtable, or external feeds into Webflow.
However, Zapier cannot create or delete CMS collections, only manage items within them. API rate limits also apply, so large batch updates may need delays or careful scheduling to avoid errors.
What are the best Zaps for Webflow?
The best Zaps for Webflow usually start with form submissions. Popular examples include form submission to CRM (HubSpot, Salesforce), form submission to Slack notification, and form submission to email marketing tools. CMS Zaps like Google Sheets to Webflow CMS are also very common for content teams.
For e-commerce sites, order notifications and accounting integrations perform well. The best Zap is usually the one that removes repetitive manual work and improves response time for your team.
Can I connect Webflow forms to HubSpot with Zapier?
Yes, connecting Webflow forms to HubSpot with Zapier is one of the most common use cases. When a user submits a Webflow form, Zapier can create or update a contact in HubSpot, set the lead source, add the contact to a list, and even create a deal.
You can also notify sales teams via Slack or email at the same time. Compared to native integrations, Zapier offers more flexibility and allows multi-step workflows around the same form submission.
What are Webflow Zapier's limitations?
Zapier has task limits based on your plan, and multi-step Zaps require a paid tier. Standard triggers may have a delay of up to 15 minutes unless webhooks are used. On the Webflow side, you can’t delete CMS items via Zapier, e-commerce actions are limited, and API rate limits apply.
Complex logic is possible, but can become hard to maintain. Zapier works well for most automation needs but may fall short for very high-volume or highly customized workflows.
Is Make better than Zapier for Webflow?
Make (formerly Integromat) is often better for complex workflows, high-volume automations, and advanced logic. It offers a visual builder, more control over data, and can be more cost-effective at scale. However, it has a steeper learning curve than Zapier.
Zapier is usually better for speed, simplicity, and non-technical teams. For most Webflow use cases, Zapier is enough. Make becomes attractive when automation needs go beyond standard triggers and actions.
When should I use webhooks instead of standard triggers?
Webhooks are best used when standard Webflow triggers don’t cover your use case. They allow you to send custom data from Webflow to Zapier in real time, without polling delays. Webhooks are useful for advanced scenarios, custom events, or integrations with Webflow Logic.
They require more setup and understanding of data structures, but offer much more flexibility. In most cases, standard triggers handle about 90% of needs, and webhooks are used for the remaining edge cases.