Webflow + HubSpot: Flawless Integration Guide for Lead ROI

Let's Build Your Webflow Website!
Partner with experts who understand your vision. Let’s create a converting user experience and build your website for future growth.
Webflow + HubSpot: The Definitive Guide to Flawless Integration and Max ROI
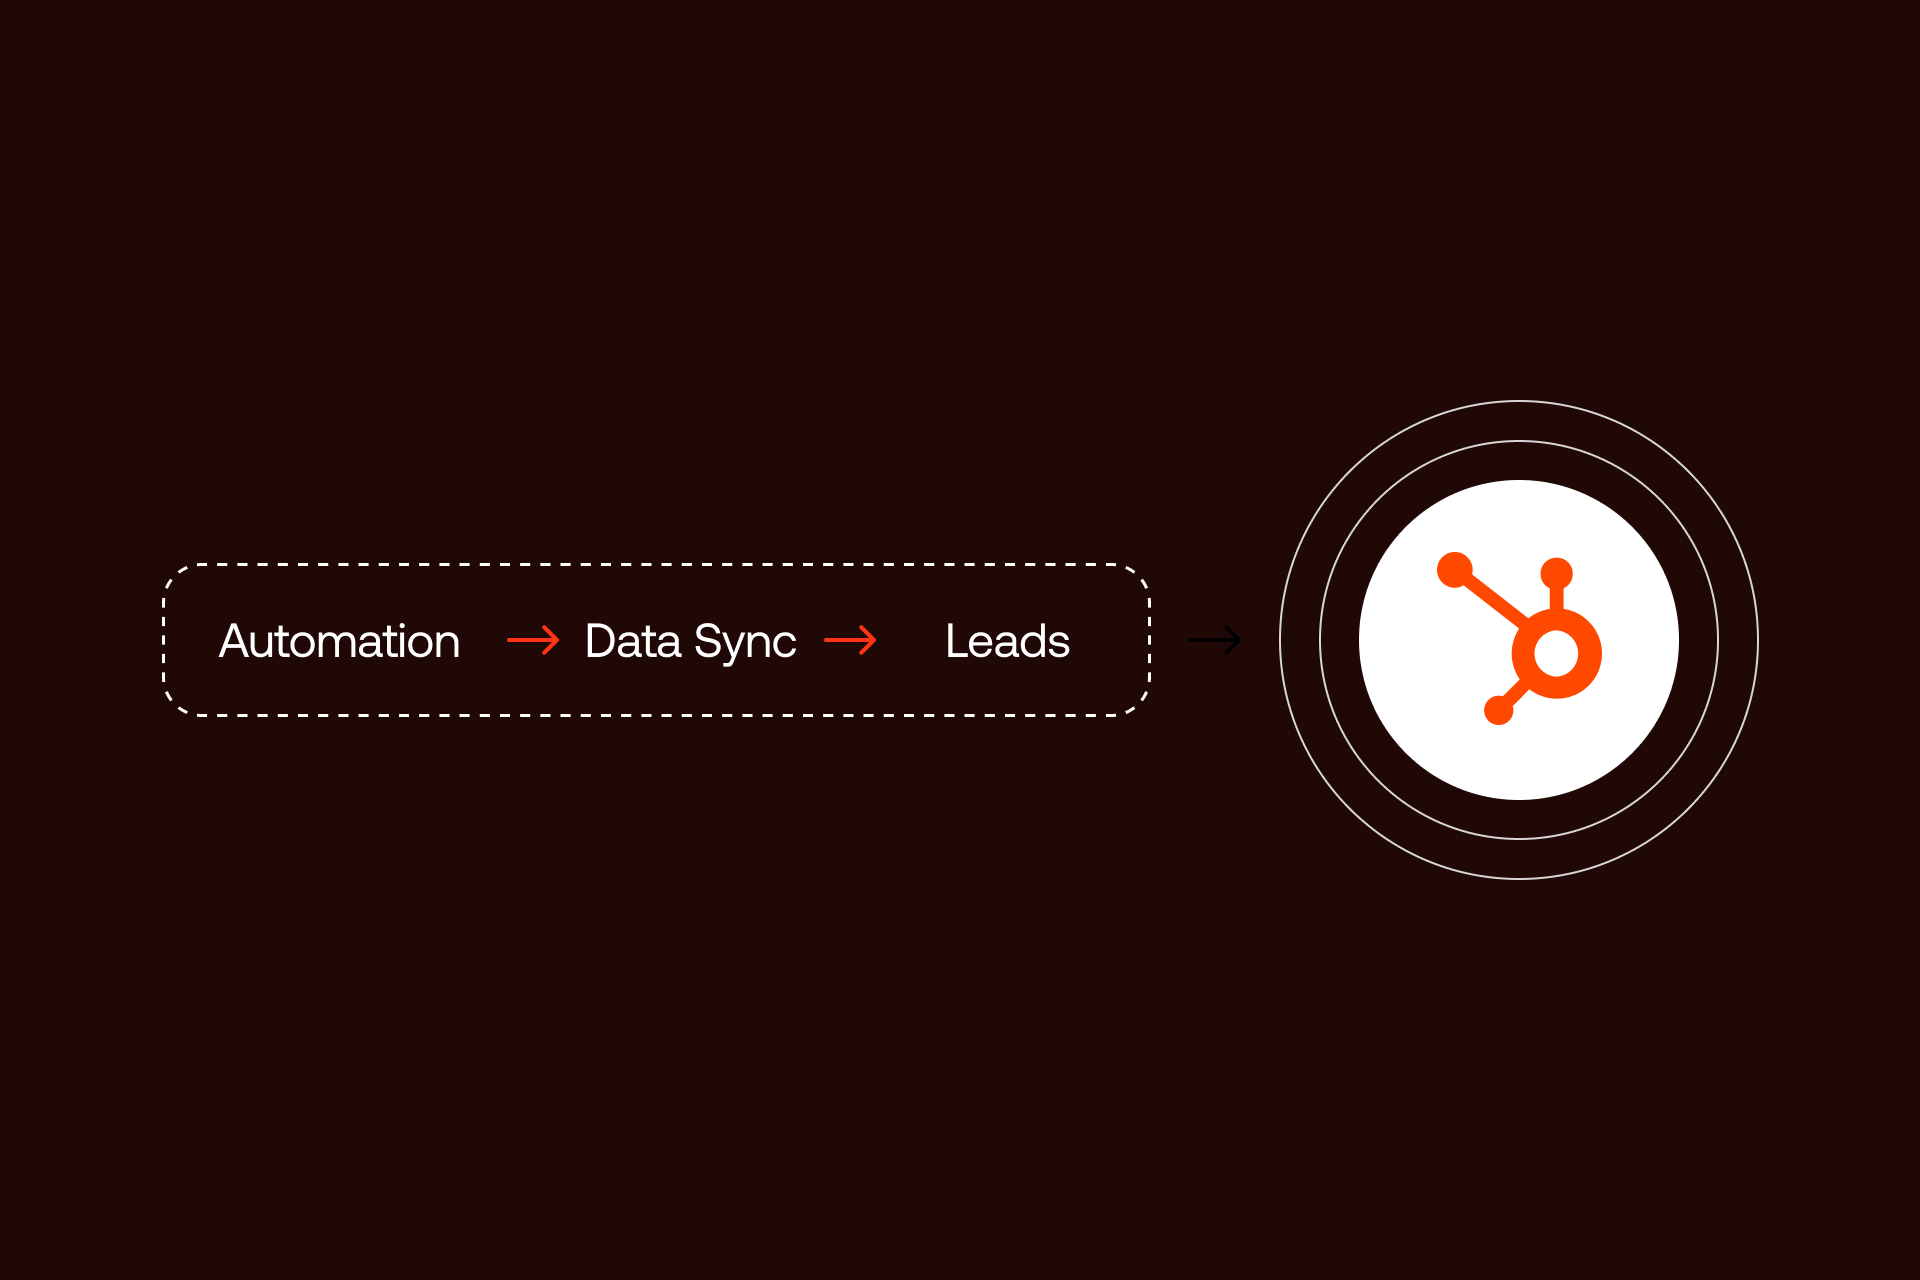
This integration connects Webflow forms to HubSpot CRM for instant lead capture and marketing automation.
Abstract: Regardless of how good they look or perform, websites aren’t doing much without marketing. But the success of any marketing action typically boils down to how well your website connects to your CRM system. These two are made for synergy. For all Webflow users who use HubSpot for marketing, this integration solves a lot of things. The key is to find a way to make the information flow between these two moves flawlessly. This is what we can get with Webflow HubSpot integration. In this guide, we will explore Webflow HubSpot integration, clarify the difference between the bare-bones and advanced methods of syncing these two, and help you make your setup scalable and highly effective.
Overview of Webflow HubSpot Integration
For anyone running an online business, the goal is pretty much the same - having a good-looking storefront that’s flexible and fast (you can get this with a Custom Webflow Development & Design), and a handy marketing tool that works in the background.
Webflow and HubSpot are usually the perfect sync - the one that helps with automation and talking to customers in the right way.
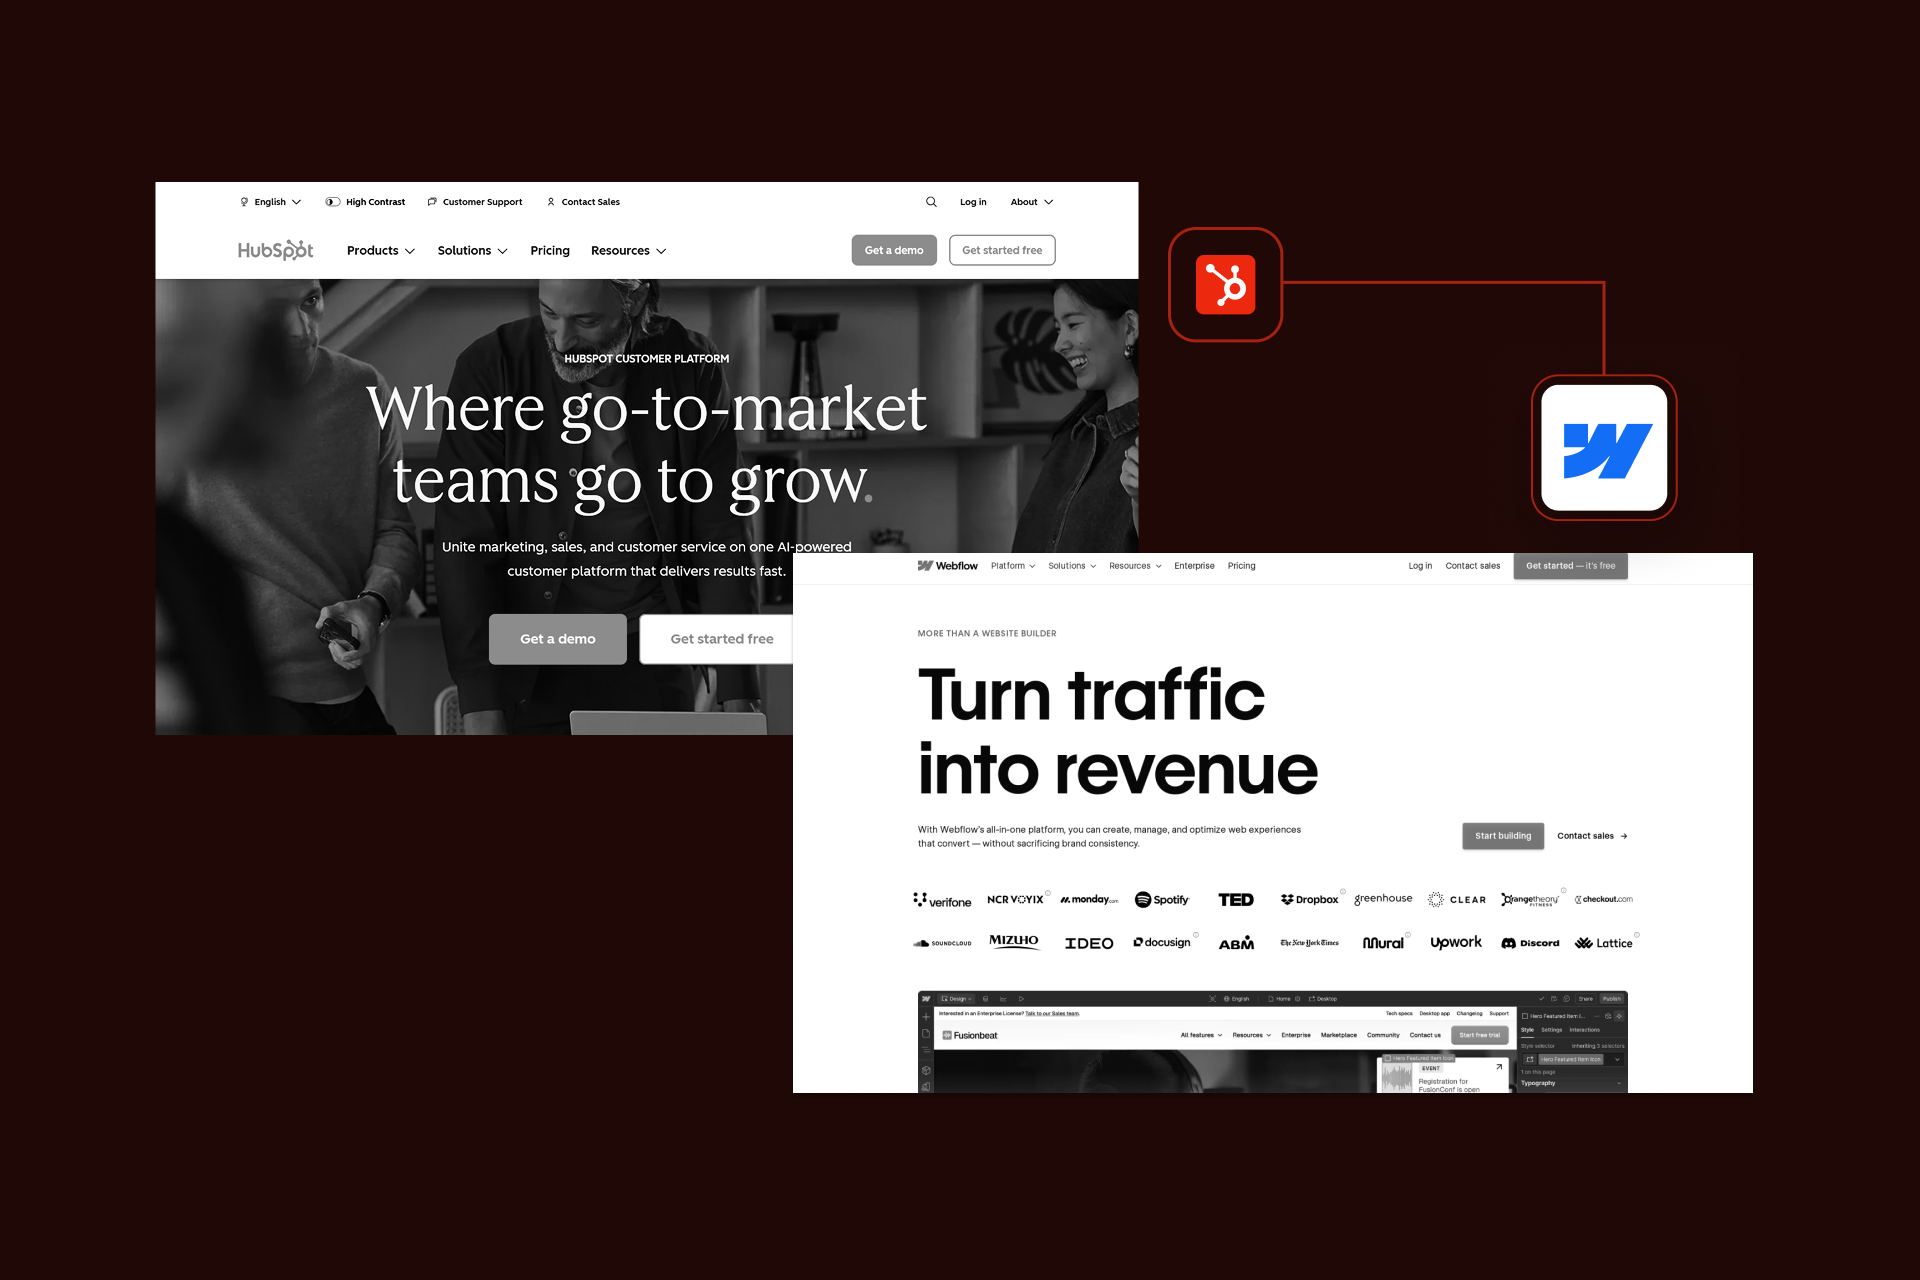
Introduction to Webflow and HubSpot
Webflow is a website-building platform, a perfect tool for modern businesses that want a clean and efficient storefront from the very beginning. On the opposite side, there’s HubSpot - a single source of truth for contacts, leads, and customers
Having Webflow and HubSpot connected, we come to one real benefit - solving a universal marketing issue called siloed data.
In the space where websites meet marketingthere are a few facts:
- The website’s data can’t be separated from the CRM data
- Lead follow-up can’t be slow
- Insights should be complete
Working on both ends with this acknowledgment, you detect that the Webflow HubSpot integration solves all of these. The final result you get is that every interaction on your fast Webflow site flows instantly into the HubSpot contact timeline, eliminating the lag that can cost you a sale.
Key Benefits of Webflow HubSpot Integration
Webflow HubSpot integration has many benefits that go beyond mere technicals.
Take a look at the table below:
Strategic Use Cases for Webflow HubSpot Integration
Even the best integration can’t do magic if you don’t use it strategically. This is one of the most important insights to think about if you are a growing company.
Some of the ways you can use it strategically include:
- Accelerated Lead Scoring: As soon as someone fills out a form on Webflow, things start working! Important details such as industry or company size jump straight into HubSpot and boost that lead’s score right away. Sales teams instantly see who matters most, so they know exactly where to focus and don’t waste time chasing the wrong folks.
- Automated Personalization: HubSpot keeps tabs on what visitors care about and where they are in the sales journey. So, having it integrated into Webflow, you can sort users on the spot. HubSpot then fires off follow-up emails that actually feel personal and arrive when they should, not just a generic blast.
- Dynamic Site Updates: If you want more control, you can set things up to send data both ways. HubSpot info can flow back into Webflow’s CMS, so your site content changes based on who’s visiting and what they’ve done before. The result? A smoother, smarter experience that feels tailored instead of one-size-fits-all.
Setting Up the High-Performance Webflow HubSpot Integration
Speaking of Webflow Hubspot integration, how you will integrate it will be decisive at some point. Why? Because not every website is the same, and not every marketing team has the same goals. So we want to do it customly.
First, you must choose your method of integration correctly and make sure that each data field is sealed perfectly. If the integration is set up incorrectly, the data transfer process will slow down. If the connection is not secure or breaks, you will lose valuable customer information.
So before you start integrating HubSpot, you need to know what options you have, and one of the options is getting Expert Webflow Integration Services.
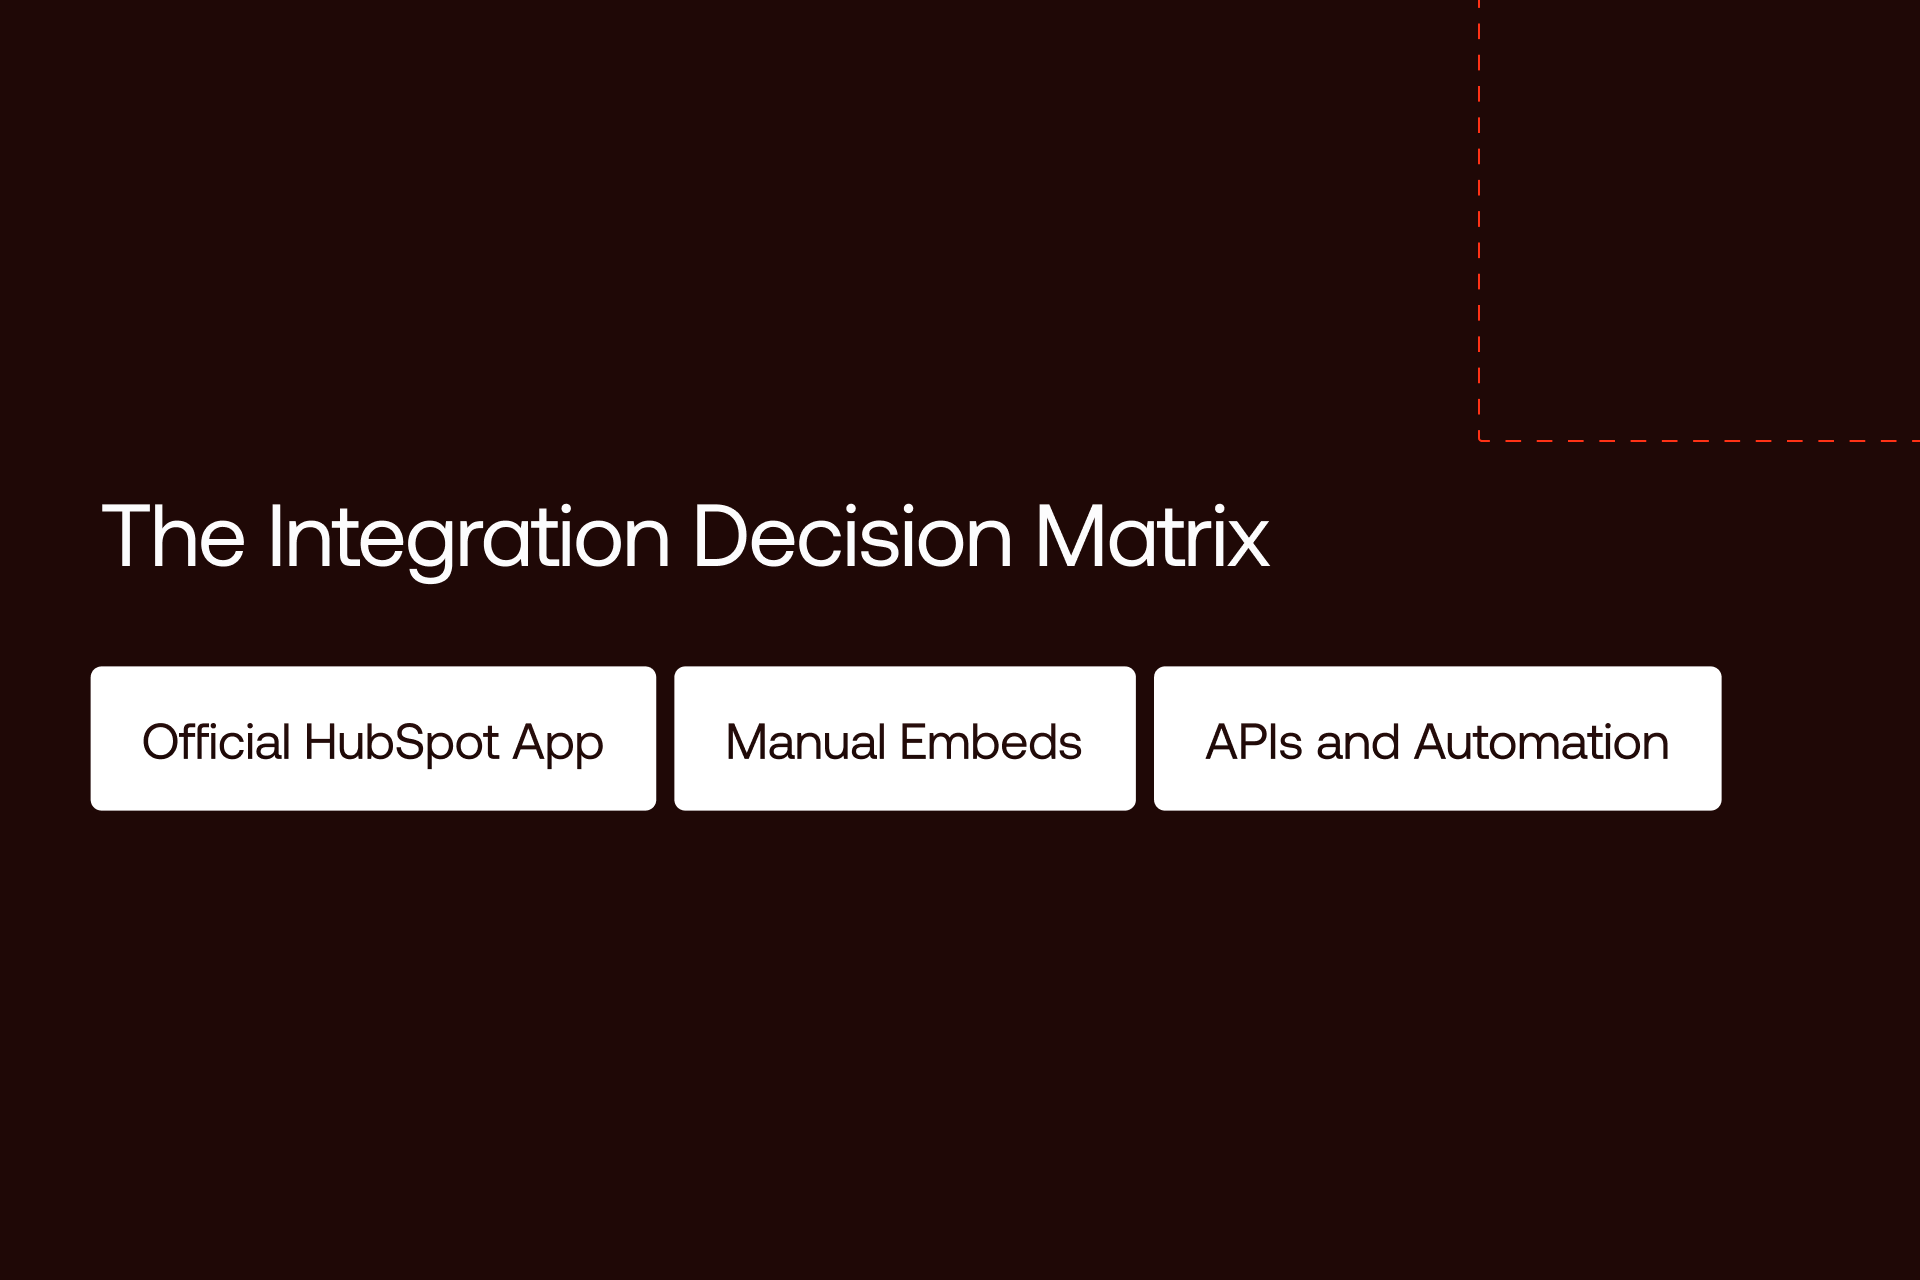
Integration Methods and The Integration Decision Matrix
You have three primary ways (methods) to connect Webflow to HubSpot, and they range from very simple to highly custom:
- Official HubSpot App: The official HubSpot app is hands-down the easiest way to get started with basic form submissions and lead tracking. It’s quick, simple, and you’re up and running fast.
- Manual Embeds: If you want more control, you can grab the raw form code from HubSpot and embed it manually. This lets you use things like conditional fields and smart logic right on your Webflow page, and you still get to style everything with your own CSS.
- APIs and Automation: Looking for even more flexibility? Go with APIs and automation tools like Zapier, Make, or even your own serverless code. This route gives you full control over complex workflows, conditional routing, and syncing data however you want.
When you’re picking the best approach, think about what you need now, but also what your business will need down the road. Choose something that fits today and keeps up with you as you grow.
Your choice should ultimately align with your future scalability needs. If you foresee requiring complex, bi-directional data flow or syncing with other systems, starting with an API strategy (if you’re not familiar with the strategy, we have an Advanced Webflow API Integration Guide) might save you time later, even if it feels complex today.
“In my experience, relying solely on standard integration plugins is how you accumulate invisible technical debt. At Shadow/Veza, we usually embed HubSpot forms using the official form developer code and style them with our own CSS, or push data into HubSpot via Node.js serverless functions when the workflow is more complex. The failures we see most often aren’t visual; they’re mis-mapped properties or invalid field types that cause HubSpot to quietly drop submissions or skip workflows. That’s exactly how high-value leads leak out of the funnel while the marketing team assumes everything is working perfectly.” - Muhammad Ukasha, Head of Development, Shadow Digital
Configuring Webflow Forms for Data Integrity and Compliance
A high-performance form is one that does more than just capture a name and email. Therefore, it must also capture context data and manage legal consent.
If you want to capture context, you should use hidden fields in your Webflow forms. These fields are invisible to the user but pass critical information, such as the source of the lead (e.g., the specific campaign URL they clicked), known as UTM parameters, directly into the HubSpot contact record.
Also, compliance is non-negotiable here. You need to tightly control your marketing consent. That would be a compulsory non-ticked box where the user has to give an explicit agreement to being marketed to in the future. If your customers are in places that have regulations similar to GDPR or CCPA, your form should both contain required fields that can be used to capture this explicit opt-in status and point clearly to your privacy policy.
Mismanaging these consent fields can leave you exposed to huge data governance issues.
Data Mapping, Synchronization, and Workflow Triggers
This is where your system’s intelligence really comes alive. The synchronization is based on the one-to-one field mapping. For instance,thet “Company Size" dropdown on Webflow has to be associated with the “Company Size” property in HubSpot bit for bit.
If one is expecting a numerical number and the other is looking for free text, there’s a good chance your data will either be broken or useless for any kind of automation. But once the data gets into HubSpot, that’s when things start to heat up.
You will often need to create custom HubSpot properties to mirror the specific fields you use in Webflow. The field type (e.g., text, date, dropdown) must match exactly between the two systems to prevent data conflicts and duplicates.
Once the data enters HubSpot, the real work begins. The contact creation acts as the workflow trigger that starts the automated actions you have defined.
The data journey looks like this:
- Webflow Submission: User fills out a form.
- Data Transfer: Form data and hidden context fields (like UTMs) are sent.
- HubSpot Contact Creation: A new contact is created, or an existing record is updated with all properties.
- Automation Trigger: The update triggers a HubSpot workflow (e.g., sending a welcome email, notifying a sales rep, updating the lead score).
This automated flow ensures follow-up happens immediately, maximizing the chance of converting the lead while their interest is high.
Real-Time Automation and Webhook Setup
For high-value leads or time-sensitive processes, near-instant communication is essential. The difference between responding to a lead in one minute versus one hour can be significant. This is where Webhooks become necessary for real-time automation.
A Webhook is essentially an automated alert system. Instead of waiting for a third-party tool to check for new submissions every few minutes, a Webhook uses Webflow's native capability to instantly push data to HubSpot the moment a form is submitted. This "push" mechanism bypasses latency, meaning there is practically no delay.
You can configure this using Webflow's built-in settings or through automation tools like Make, which relies on Webhooks for maximum speed. This instant data push creates a powerful trigger-based automation in HubSpot. For instance, the second a prospect fills out a "Request Demo" form, the Webhook delivers the data, instantly increasing the lead's score in HubSpot and immediately triggering a welcome SMS or email notification to both the prospect and the sales rep.
This speed drastically improves the customer experience and ensures you never miss a prime moment for follow-up.
Testing, Validation, and Troubleshooting the Integration
Any integration, no matter how carefully built, requires thorough quality assurance (QA).
You must test the system fully before launch to confirm that the data is flowing correctly and reliably.
High-Performance QA Checklist
Here’s how you can make sure your setup works the way you want:
- First, submit a test form with real, non-conflicting info. Right away, check HubSpot to see if it creates a new contact record on the spot.
- Next, look at that contact’s timeline in HubSpot. Go through each field: name, email, company size, all of it. Everything from your Webflow form should land in the matching HubSpot property, no mix-ups.
- Don’t forget the hidden stuff. Make sure things like UTM parameters or referral info actually show up in the new contact record. That way, you know where your leads are coming from.
- Now, check if your workflows fire off as they should. Did your test submission trigger the right automation? Is the welcome email sent? Did sales get a notification? Did the lead score update? You want to see all of that happen.
- Try to break it, too. Submit the form, but leave out a required field. The Webflow form should stop you and show an error. If it doesn’t, something’s off.
- Finally, mess with the data. Type letters into a number-only field or add symbols where they don’t belong. See if the form catches your mistakes and either fixes them or throws up a clear error before you can submit.
If you go through these steps, you’ll know your setup’s solid.
Troubleshooting Quick Facts
If submissions fail to sync, the first step is always to verify the basics: is the HubSpot tracking code installed in the <head> section of your Webflow project settings?
If data is missing or misplaced, the issue is almost always a mismatch in field types or names between the Webflow form and the HubSpot properties. For forms that use a manual embed and look visually broken, confirm that you used the raw HTML or developer code option from HubSpot, not the standard iframe version.
Advanced Features and Best Practices for Optimization
Once you know the integration works, that the data flows reliably, the next step is optimization. This moves you beyond basic lead capture and into a system that truly delivers maximum value.
It’s about building a robust engine that can scale with your company and provide deep, clear insights that drive better business decisions.
Customization and Scaling the Integration
While the native Webflow App and manual embeds are excellent for basic lead capture, they have limitations when you need the system to scale or perform complex tasks.
For high-volume traffic or for any process requiring two-way data synchronization, leveraging the HubSpot API becomes necessary. Two-way sync means data flows both into HubSpot (like a form submission) and out of HubSpot (like updating a customer’s details).
For example, you may need to update a user's subscription status on their Webflow account page automatically after they change it within HubSpot. Simple native embeds cannot handle this level of interaction. Using the API, whether directly or through advanced automation tools, allows you to build these complex, custom features and maintain consistent performance under heavy load.
Analytics, Tracking, and ROI Measurement
The true payoff of a clean integration is found in the clarity of your analytics. When all the data flows correctly, you gain advanced attribution, which is the ability to track a user's entire journey: from the first time they landed on a specific Webflow page right through the various stages of the HubSpot sales pipeline.
HubSpot’s built-in reporting features are designed to use this unified data. By correctly capturing the source (UTM parameters), you can run detailed, ROI-focused reports that show not just which channels generated the most leads, but which channels delivered the most closed deals. This allows you to make data-backed decisions about where to invest your marketing spend for the highest return.
Addressing Limitations and Data Synchronization Challenges
Even with careful setup, certain challenges can appear as the system grows.
A common pain point is data duplication. This happens when a returning user submits a form but cannot be identified properly. To prevent this, you must rely on HubSpot's deduplication properties, usually the email address, to match incoming data to an existing contact.
Additionally, you need processes to handle unexpected field values. If a Webflow free-text field allows any input, but the corresponding HubSpot property expects a specific format, the data will fail.
Testing and validation scripts can help ensure the cleanliness of the input before it even reaches the CRM. For those using non-API integrations, be aware that minor latency (small delays) may occur, particularly during peak volume periods.
Long-Term Integration Best Practices
Maintaining a high-performing HubSpot integration is an ongoing commitment, and here’s how you should approach it:
- Quarterly Data Audits: Check your data in HubSpot every few months. Take a close look at your custom fields. Clear out anything you aren’t using or any properties that overlap or conflict. Stuff like that just clogs up the system and ends up confusing everyone.
- Naming Consistency: Be strict about naming. The field names inside your Webflow forms need to match the property names in HubSpot, letter for letter. If they don’t, things break. Honestly, mismatched names cause more integration headaches than just about anything else.
- Team Training: Don’t leave your team in the dark. Everyone who touches the data needs to know the rules. Train your marketing and sales folks on exactly how to enter things like how to format phone numbers or company names. When everyone’s on the same page, your data stays clean and useful.
Detailed FAQ – Frequently Asked Questions
How do I use a single Webflow form for multiple lead funnels in HubSpot?
You can achieve this using a hidden field in your Webflow form. Give the hidden field a unique value that indicates the funnel or the source (e.g., "Funnel: Ebook Download" or "Source: Footer Contact"). You then map this hidden field to a custom property in HubSpot. This property can then be used as a primary filter or condition to trigger different automated workflows, placing contacts into the correct pipeline or sending funnel-specific communications.
What is the risk of using external middleware like Zapier versus the native HubSpot integration?
The main risk of using external middleware is introducing an additional point of failure and potential latency. If the middleware service experiences downtime, your data flow stops until it recovers. Also, middleware often adds a small delay because it has to process the data between Webflow and HubSpot. The native official app, and especially manual HubSpot form embeds, are often more direct and reliable for simple lead capture, though middleware is necessary for complex, multi-system workflows.
How can I prevent duplicate contacts from being created when using Webflow forms?
HubSpot relies primarily on the email address to deduplicate contacts. To prevent duplicates, ensure that the email field in your Webflow form is properly mapped to the standard Email property in HubSpot. If you are using APIs or automation tools, confirm that your setup uses an upsert operation. This function tells the system to update an existing contact if the email is found, rather than creating a brand-new, duplicate record.
What is the best method for implementing GDPR and CCPA consent tracking on Webflow forms?
The most reliable method is using HubSpot's built-in consent fields via a manual form embed. HubSpot provides specific fields for lawful basis (GDPR) and communication subscription types. By using the raw HTML embed option, you leverage HubSpot's logic to capture and log the explicit opt-in status directly onto the contact record, which is necessary for compliance reporting. This is generally preferred over building custom consent logic solely in Webflow.
How can I troubleshoot if my Webflow form submission is not triggering the correct HubSpot workflow?
First, check the contact's timeline in HubSpot. If the contact was created but the workflow did not run, the problem is likely with the workflow enrollment criteria. Confirm that the specific property value you are using as the trigger (e.g., the value of a hidden field) matches the workflow's entry condition exactly. If the contact was not created, then the issue is with the initial form mapping or the tracking code installation in Webflow.
Can I use data from HubSpot to personalize the content displayed on my Webflow site?
Yes, but this requires an advanced, API-based setup (bi-directional sync). Simple native integrations only push data to HubSpot. To pull data back to Webflow (e.g., to show a returning visitor content based on their HubSpot-recorded industry), you need custom code or serverless functions to query the HubSpot API and dynamically update the Webflow page content.
What are the specific security considerations for using the HubSpot API for data transfer?
When using the HubSpot API, the main security concern is protecting your API keys or Private App Access Tokens. These keys grant access to your sensitive customer data. They should never be exposed in public client-side code (like in your Webflow site's custom code). All API requests involving sensitive data should be managed by secure, server-side code (like a serverless function) to keep the tokens hidden from the public.
Which HubSpot property types correspond best to common Webflow form fields (e.g., multi-select)?
It is essential to match field types exactly to avoid data failure.
- Webflow Text Input should map to HubSpot Single-line text or Multi-line text.
- Webflow Checkbox/Switch should map to HubSpot True/False (Boolean).
- Webflow Dropdown/Select should map to HubSpot Dropdown Select.
- Webflow Multi-Select should map to HubSpot Multiple checkboxes.
Using the wrong pairing (e.g., a multi-select field mapping to a single-line text property) will cause the data to be unusable for automation and segmentation.