Webflow Mailchimp Integration 2026 (Step-by-Step Guide)


Let's Build Your Webflow Website!
Partner with experts who understand your vision. Let’s create a converting user experience and build your website for future growth.
Webflow Mailchimp Integration 2026: Complete Setup & Automation Guide
Mailchimp is one of those tools that has lasted because it keeps solving a simple problem: staying in touch with the people who already raised their hand. For Webflow site owners, it covers the middle ground between design and marketing, where your forms, lists, and email sequences meet.
Used well, it handles most of the busywork behind email marketing. It collects new leads from your site, adds them to a list, and sends automated follow-ups that feel personal. You can set up sequences for new sign-ups, updates for returning visitors, or reminders tied to a campaign. Segmentation makes it easy to group subscribers based on what they did on your site or which form they used, so you’re not sending the same message to everyone.
Mailchimp’s analytics show how those messages perform, giving you a sense of what connects and what doesn’t. For many teams, that feedback loop is what turns casual newsletters into a consistent marketing channel.
Why You Should Integrate Mailchimp with Webflow
Connecting Mailchimp to Webflow saves time and keeps your data organized. Every form submission can go straight to a Mailchimp list, which means no manual exports or missed leads. This is among the most useful Webflow API integrations and supports smarter, automated workflows.
Once someone signs up, you can trigger a welcome email, tag them based on their interest, or start an onboarding sequence all without touching the form again.
For marketing teams, this link closes the gap between design and automation. You can track engagement, see how Webflow traffic converts into subscribers, and sync that data with other tools in your stack. The result is cleaner workflows and better reporting, especially when campaigns start to scale.
If you’re building or optimizing your setup, you can learn more about Shadow Digital’s Webflow Development and Integrations services.
Three Ways to Integrate Mailchimp with Webflow
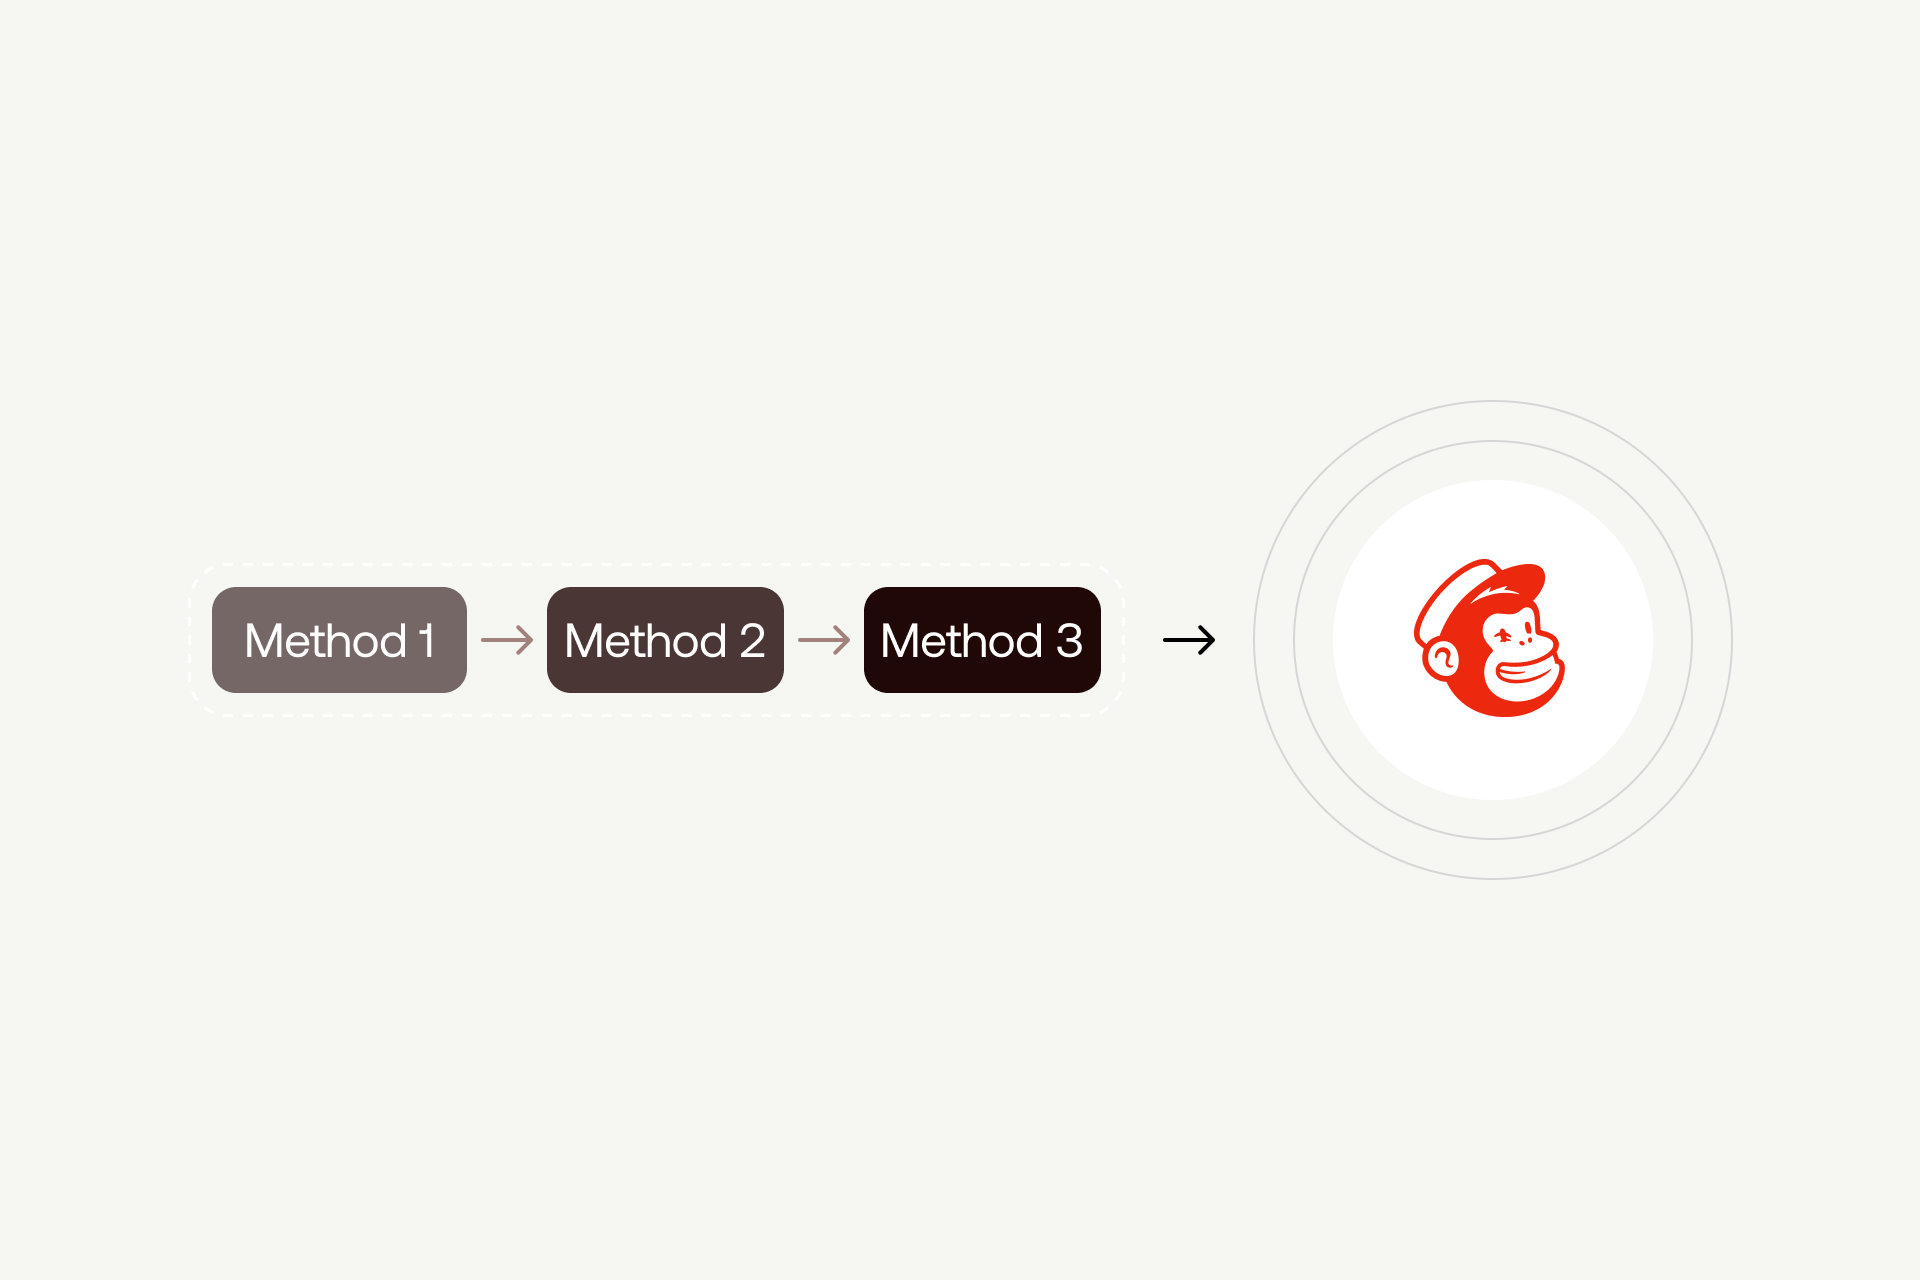
There’s no single right way to connect Mailchimp with Webflow, it depends on how much control you want, what plan you’re on, and whether you prefer to keep everything inside Webflow or use external tools.
Most setups fall into one of three categories: a direct POST from a native Webflow form, a quick Mailchimp embedded form, or a flexible automation layer using Zapier or a similar middleware tool.
Method 1: Direct POST (Mailchimp Action URL) - Uses Webflow’s native form + styling
For teams that want native Webflow form styling without external tools, the direct POST method connects your Webflow form directly to Mailchimp's subscribe endpoint.
You use Mailchimp's subscribe/post URL as your form's Action, set the form method to POST, and match your input field name attributes to Mailchimp's merge tags (EMAIL, FNAME, LNAME, etc.). Webflow handles the submission natively; no embed code or external tool needed.
How it works: use a normal Webflow form. Set its Action to Mailchimp’s subscribe/post URL and match input name attributes to Mailchimp merge tags (e.g., EMAIL, FNAME, LNAME). Styling stays 100% Webflow.
- Find your Action URL
- Mailchimp: Audience → Signup forms → Embedded forms → grab the form action value.
- It’ll look like: https://<dc>.list-manage.com/subscribe/post?u=<u_id>&id=<audience_id>
- Go to Webflow Designer
- Add a Form block.
- Add a Form block → Settings panel → Send to: Custom action → Method: POST → Action: paste the Mailchimp URL
Pros: native styling, zero third-party tools, simple and robust.
Cons: advanced logic requires API/Zapier.
Method 2: Manual Integration Mailchimp Embedded Form (Copy–Paste into Webflow).
Best for: Fastest setup with no middleware. You paste Mailchimp’s form HTML into Webflow and you’re done.
Know this upfront: Webflow’s Success/Error states and reCAPTCHA don’t apply to external POSTs. Tags cannot be added via this method (use API/Zapier/Logic if you need tagging). Mailchimp uses a honeypot for spam protection.
Steps
1. Open the embedded form in Mailchimp
- Go to Audience → Signup forms → Embedded forms.
- If you have multiple audiences, choose the one you want first.
- Select the Unstyled (Naked) option so you can style in Webflow.
2. Configure the form in Mailchimp
- Toggle the fields you want (e.g., Email, First name, Last name).
- (Optional) Add GDPR consent checkboxes if you need them—keep Mailchimp’s exact field names/structure.
Note: “Tags” cannot be added from the embedded form. For segmentation without code, consider Interests/Groups checkboxes (different from Tags).
3. Copy the embed code
4. Paste into Webflow
In Webflow Designer, drag an HTML Embed element to where the form should appear.
5. Paste the embed code.
- Publish & test on the staging domain
- Submit a test with a new email, then with an existing subscriber to confirm both paths.
- If Double opt-in is enabled on the audience, verify the confirmation email arrives.
Method 3: Zapier Integration (Automated Setup)
If you want updates to happen automatically every time a form is submitted, Zapier is a popular choice that adds a flexible automation layer. Keep in mind that Zapier introduces typical middleware latency (30 seconds to a few minutes between form submission and Mailchimp update), so it might not be suitable for real-time requirements.
You set your Webflow form submission as the trigger, then choose “Add/Update Subscriber” as the action in Mailchimp. After mapping fields like email, name, and tags, you can add custom tags to segment new contacts based on where they came from or what they clicked. Once tested, publish the Zap and Zapier will handle the rest.
Steps
- Connect Webflow form submissions as triggers
- Choose “Add/Update Subscriber” action in Mailchimp
- Map fields (email, name, tags)
- Add custom tags for segmentation
- Test and publish your Zap
Pros
- Scalable
- Automates updates
Cons
- Requires a paid Zapier plan for volumes above the free tier (~100 tasks/month)
- Costs scale with submission volume
Zapier fits teams that want more automation without writing code. It’s flexible, but each step or extra list can add to your monthly cost.
Step-by-Step: How to Connect Webflow and Mailchimp
No matter which method you choose, manual embed, Zapier, or Webflow Logic, the basic flow stays the same. You’re connecting a Webflow form to a Mailchimp audience so data moves automatically from your site to your email list.
The setup usually takes less than an hour once you’ve prepared your form and Mailchimp account.
Universal Steps
1. Create or log into your Mailchimp account
Make sure you have at least one active audience. If you’re starting fresh, Mailchimp’s default audience works fine.
2. Set up your audience or list
Decide what data you’ll collect. At minimum, you’ll need an email field. Add name, company, or custom tags if you plan to segment subscribers later.
3. Build or select your Webflow form
Add a standard form block on your page. Label each field clearly so it’s easy to map later.
4. Copy embed/action code or connect through Zapier or Logic
- For manual setup, use Mailchimp’s embed code.
- For Zapier, connect Webflow as the trigger and Mailchimp as the action.
5. Paste into Webflow
Embed the Mailchimp form code in an HTML Embed element, or connect your integration in Logic or Zapier.
Example HTML embed snippet:
<form action="https://YOUR_LIST_ID.usX.list-manage.com/subscribe/post?u=ABC123&id=XYZ789" method="post">
<input type="email" name="EMAIL" placeholder="Your email" required>
<input type="text" name="FNAME" placeholder="First name">
<button type="submit">Subscribe</button>
</form>
Note
- Test form connection - Submit a test entry and check your Mailchimp audience. If data appears correctly, your connection is live.
- Publish your site and confirm lead flow - Go live, submit one more form on the live domain, and verify that subscribers are being added without errors.
Common Issues (and How to Fix Them)
Even simple integrations can break when small details are off. Most Mailchimp-Webflow issues come down to mismatched fields, formatting quirks, or missing settings inside Mailchimp. Below are the most common problems and quick ways to fix them.
Form Fields Not Matching
Cause: Mailchimp expects each field name to match exactly what’s defined in your audience list (for example, EMAIL, FNAME, or LNAME). If your Webflow form uses different field names or lowercase letters, Mailchimp can’t store the data correctly.
Fix: Open your Mailchimp audience settings and check the merge tag names for each field. Then match those in your Webflow form or Zapier mapping. Always test with a new submission after saving changes.
Submissions Not Reaching Mailchimp
Cause: This usually happens when the form action URL or Zap trigger isn’t connected correctly. It can also occur if your Mailchimp API key expired or Logic request URL changed after an update.
Fix:
- For manual embeds, double-check the form’s action URL in the Mailchimp code.
- For direct POST, make sure the action and method="POST" attributes on the Webflow form match your Mailchimp embed code.
- For Zapier, re-test the trigger/action, verify API credentials, and confirm the HTTP request returns a 2xx status (not just 200 OK). Enable error logging to surface Mailchimp’s JSON error (e.g., invalid merge field)..
If nothing shows in Mailchimp, enable error logging in Webflow or Zapier to see what’s being blocked.
Styling or Formatting Errors in Embedded Forms
Cause: Mailchimp’s default embed code includes inline CSS that can override your site styles. It may add unexpected margins, fonts, or button designs.
Fix: Use the “naked” or unstyled embed version from Mailchimp. This version includes only the form fields without design rules, so you can apply your Webflow styles freely. You can also wrap the form in a div block and apply custom classes inside Webflow for full control.
Duplicate Contacts in Lists
Cause: If you connect multiple forms or automations to the same Mailchimp audience without checking for existing subscribers, Mailchimp might create duplicates or fail to update existing contacts.
Fix: In Zapier, use the “Add/Update Subscriber” action instead of “Add Subscriber.” This ensures Mailchimp checks for existing emails before creating a new entry.
In Logic or manual setups, confirm the request method uses Mailchimp’s update endpoint rather than a new POST each time.
Missing Tags or Segments
Cause: Tags or segmentation fields aren’t mapped correctly, or the Mailchimp audience doesn’t recognize custom tag fields.
Fix:
- Revisit your Zapier or Logic mapping and confirm the tag field names match exactly.
- In Mailchimp, check that the tags exist and are spelled correctly.
If you’re sending tags through an HTTP request, verify that the payload structure follows Mailchimp’s format:
{
"email_address": "user@example.com",
"status": "subscribed",
"tags": ["Webflow Form", "Newsletter"]
}
Small consistency checks like these often fix most integration problems without needing developer support.
Webflow Logic: The Automation Method That Went Sunset
Among these methods, there was one more method that went sunset on June 27, 2025. That method was Webflow Logic (Webflow's native workflow automation tool).
Brief Explanation of Webflow Logic: Webflow Logic has been permanently retired and is now disabled on all sites. Any existing flows are no longer active and must be rebuilt. Webflow now recommends migrating automations to third-party partners like Zapier or Make, both of whom are offering special discounts to assist with the transition.
Automation & Segmentation: Taking It Further

Once your Mailchimp connection is running smoothly, the next step is to make it work harder for you. A basic integration collects contacts. A smart one turns those contacts into relationships through automation, segmentation, and tracking.
These steps build the foundation for real marketing flows that keep running long after launch.
Trigger Welcome Emails and Automations
Start by creating a welcome sequence inside Mailchimp. Set it to trigger when someone joins your audience or receives a specific tag from your Webflow form. A short automated series, one message confirming the signup, one introducing your product, and one linking to useful content, sets expectations and keeps your brand top of mind.
In Webflow Logic or Zapier, you can tag each form submission with a unique identifier (like webflow-homepage or pricing-form) so Mailchimp knows which automation to fire. Always test these triggers before going live to confirm emails send as expected.
Segment Leads by Form or Page Source
Segmentation lets you talk to different audiences without creating extra lists. You can tag subscribers based on where they signed up, which content they read, or what offer they clicked.
For example, leads from a demo request form might get a “Sales Nurture” tag, while newsletter subscribers get “Content Updates.” Over time, these tags help refine your messaging, and Mailchimp’s reports will show which segment engages more.
If you’re using Zapier, add a “Custom Value” step to assign tags automatically based on the form name or page URL.
Enable Double Opt-In for Compliance
Double opt-in adds a short confirmation step for new subscribers. It’s required in some regions and recommended everywhere to reduce spam signups. When turned on, Mailchimp sends a confirmation email after each submission. Only confirmed contacts are added to your audience.
For embedded/direct POST forms, enabling Double opt-in in the audience settings is sufficient. For API-based flows (Zapier) you must set the subscriber status to pending (or enable Zapier’s ‘Double opt-in’ option) to trigger the confirmation email.
Sync Multiple Audiences or Lists
If you manage several brands or regional sites, it can help to maintain separate Mailchimp audiences. You can sync Webflow forms to each one using different Zaps or Logic flows.
The key is to keep your naming consistent, use clear identifiers like “Webflow_EN” or “Webflow_DE.” For overlapping audiences, consider merging them into one master list with segmentation tags to avoid duplicates and simplify reporting.
Track Conversion Events with Mailchimp Reports
Mailchimp’s reports go beyond open rates. When integrated correctly, you can see which forms, campaigns, or automations lead to signups or purchases. Combine this with Webflow’s analytics or a connected CRM to trace a full funnel view from click to conversion.
Check these reports regularly, they reveal where your signup flows are strongest and where engagement drops off.
For help building or scaling these automations, see Shadow Digital’s Email Automation and Marketing Strategy services.
FAQ
Can Webflow send newsletters with Mailchimp?
Not directly. Webflow handles form submissions, while Mailchimp manages the actual email sending. Once connected, you can collect subscribers in Webflow and send newsletters or campaigns through Mailchimp.
Can I connect Webflow and Mailchimp without Zapier?
Yes. You can either use Mailchimp’s embed code for a direct connection or set up Webflow Logic to send data via an HTTP request. Both options skip third-party tools.
How do I tag new subscribers?
In Mailchimp, create tags under your audience settings. Then, during setup in Zapier or Logic, map a static tag like “Webflow Form” or pass dynamic tags based on the page or form name.
Does Mailchimp support double opt-in with Webflow forms?
Yes. Turn on double opt-in in your Mailchimp audience settings. Every new subscriber from your Webflow form will receive a confirmation email before being added to your list.
Can I send automated emails after a form submission?
Absolutely. Create an automation in Mailchimp that triggers when a new subscriber joins a list or receives a specific tag. Use Webflow Logic or Zapier to ensure that tag or list is applied correctly.
Why isn’t my Webflow form sending data to Mailchimp?
Check your field mappings first. If they don’t match Mailchimp’s merge tags, submissions won’t register. Also verify that your Mailchimp API key, form action URL, or Logic request is still valid.
Work With Shadow Digital
Whether you need a simple form integration or a fully automated workflow, Shadow Digital helps Webflow teams connect marketing and design seamlessly.